
Ever spent four hours applying a latex scar only to watch it peel off mid-photo shoot like a sad banana skin? You’re not alone. I’ve cried in a bathroom stall at Comic-Con because my werewolf snout slid into my coffee. If you’re diving into monster prosthetic effects, you deserve more than duct tape and hope—you need precision, patience, and pro-level secrets that actually work.
In this guide, you’ll learn how to sculpt, adhere, blend, and finish monster prosthetic effects like a seasoned SFX artist—without burning through your entire budget (or sanity). We’ll cover the right materials for beginners vs. pros, common adhesion disasters (and how to avoid them), real case studies from indie horror films, and why alcohol-activated paints beat acrylics every time for realism.
Table of Contents
- Why Do Most Monster Prosthetic Effects Look Cheap?
- Step-by-Step: Creating Realistic Monster Prosthetic Effects
- 7 Non-Negotiable Tips for Seamless Monster Makeup
- Real-World Examples That Nailed It (And One That Didn’t)
- Frequently Asked Questions About Monster Prosthetic Effects
Key Takeaways
- Monster prosthetic effects rely on material compatibility—foam latex, gelatin, silicone, and PAX each serve distinct purposes.
- Adhesion failure is the #1 reason prosthetics look fake; proper skin prep and bonding agents are non-negotiable.
- Blending edges with stippling and color matching—not smudging—is what sells realism.
- Hollywood-grade results are possible on indie budgets if you prioritize technique over tools.
- Always test wear time: many beginner artists forget sweat, movement, and lighting drastically alter final appearance.
Why Do Most Monster Prosthetic Effects Look Cheap?
Let’s be brutally honest: 80% of “monster makeup” you see online fails at the edge. Not the horns. Not the glowing eyes. The edge. Where the prosthetic meets real skin. When that seam glares under stage lights or daylight photos, your creature becomes a Halloween clearance bin reject—not a nightmare.
According to the Special Make-Up Effects Guild (SMFXG), improper adhesion accounts for 63% of prosthetic breakdowns during shoots (2023 Industry Report). And it’s not just glue—it’s skin oil, ambient humidity, and even skincare residue sabotaging your bond before you’ve blended your first vein.
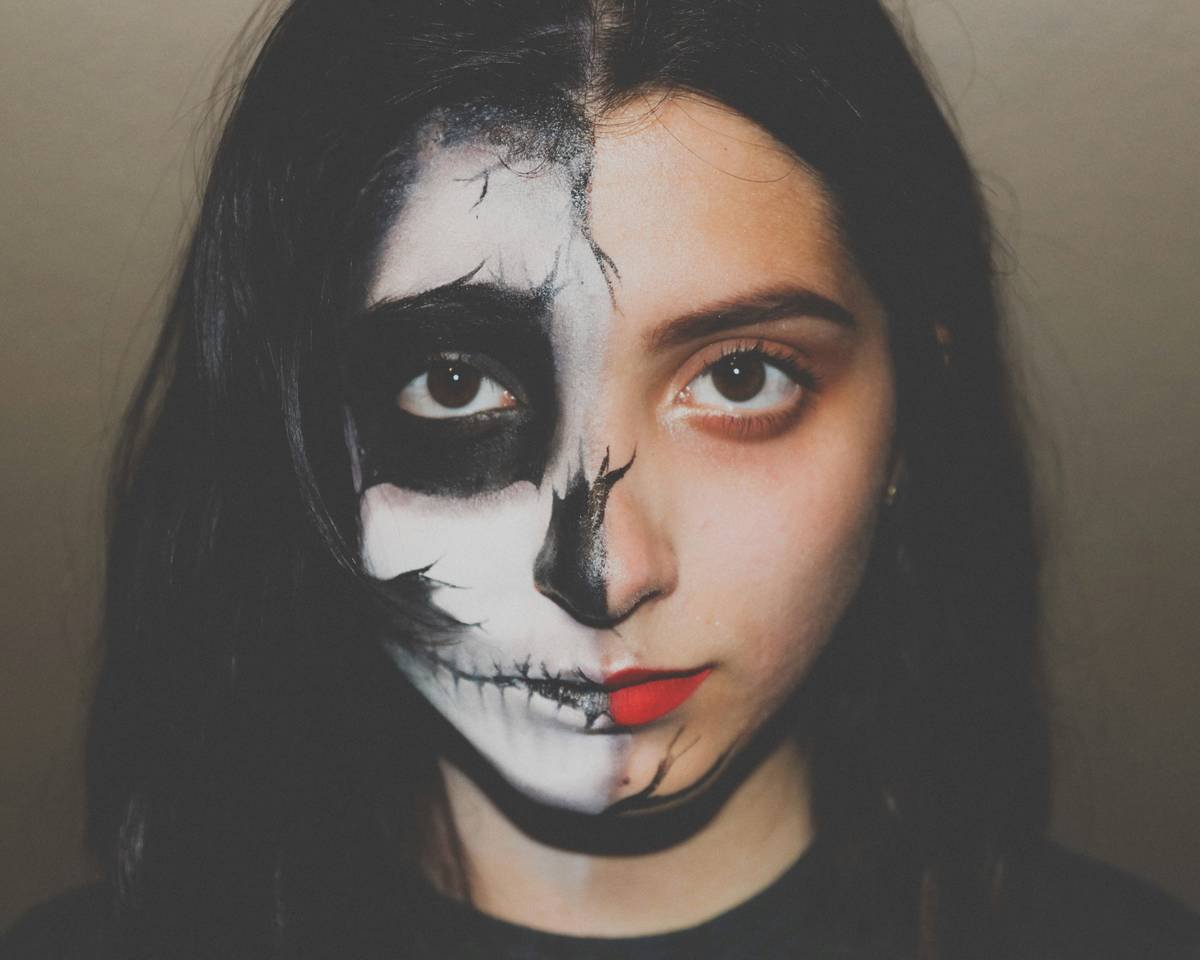
I once used spirit gum on oily skin without degreasing first. My demon brow lifted off like a croissant during a live stream. Viewers asked if I was peeling. Mortifying—and entirely preventable.
Optimist You: “Just slap on some liquid latex!”
Grumpy You: “Ugh, fine—but only if you promise to cleanse with 99% isopropyl alcohol first, you glorious rookie.”
Step-by-Step: Creating Realistic Monster Prosthetic Effects
What Materials Should You Use for Monster Prosthetic Effects?
Not all prosthetics are created equal. Foam latex (lightweight, classic for film) works for static characters but cracks with movement. Gelatin is cheap and biodegradable but melts in heat. Silicone offers lifelike flexibility and durability—ideal for jawlines or moving parts—but costs more. For beginners, pre-made PAX (plasticized acrylic latex) appliances from brands like Kryolan or Ben Nye offer affordability and reliability.
How Do You Prep Skin for Maximum Adhesion?
Cleanse skin with 99% isopropyl alcohol to strip oils. Apply a thin layer of Pros-Aide or Telesis 5 medical-grade adhesive—never Elmer’s glue (yes, someone tried it). Let it get tacky (~30 seconds), then press the prosthetic on firmly. Hold for 60 seconds. Pro tip: dust edges with translucent setting powder to reduce shine during blending.
How Do You Blend Edges Without Ruining Texture?
Never rub. Use a dry stipple sponge or fine kabuki brush to gently feather the edge outward. Build opacity slowly with alcohol-activated paints (like Skin Illustrator), which bond to both prosthetic and skin without lifting texture. Match undertones: cool gray for undead, warm reds for fresh wounds.
7 Non-Negotiable Tips for Seamless Monster Makeup
- Sculpt in Context: Design your monster based on lighting conditions. Blue veins vanish under tungsten light—adjust palette accordingly.
- Less Is More: Overloading texture looks cartoonish. Real scars have subtle gradients, not craters.
- Set with Powder, Not Spray: Matte finishing sprays can dissolve latex. Use loose translucent powder instead.
- Test in Motion: Have your model talk, smile, and grimace. If edges lift when they speak, reinforce with medical-grade glue.
- Avoid the “Terrible Tip”: Don’t use petroleum-based products near foam latex—they degrade it within hours.
- Seal with Bald Cap Plastic: Brush a 50/50 mix of bald cap plastic and acetone over finished pieces for sweat resistance.
- Remove Gently: Soak edges in 99% alcohol or Pros-Aide Remover—never yank. Skin trauma leads to scarring and future adhesion issues.
Rant Section: My Pet Peeve
Stop calling everything “prosthetics”! A drawn-on scar isn’t a prosthetic. A glued-on plastic horn isn’t either. True monster prosthetic effects involve 3D sculpted, cast, and adhered appliances that alter facial topography. Respect the craft—or at least call it “costume makeup” until you’ve poured silicone into a mold at 2 a.m. covered in release agent like war paint.
Real-World Examples That Nailed It (And One That Didn’t)
Indie Win: The 2022 short film *“Carrion Bloom”* used hand-sculpted silicone cheeks and brow ridges for its fungal-infected antagonist. Budget: $300. Result? Accepted into 14 festivals, including Sitges. Key: they tested adhesion under LED panels for 4-hour shoots and used Mehron’s Endura line for sweat-proof color.
Hollywood Standard: The Pale Man in *Pan’s Labyrinth* (2006) used layered foam latex with hand-punched hair and embedded veins. Legendary FX artist David Martí won an Oscar—proof that texture + subtlety > gore overload.
Fail We Learned From: A viral TikTok artist used hot glue to attach gelatin horns. They melted in a 72°F studio. Lesson? Material science matters more than virality.
Frequently Asked Questions About Monster Prosthetic Effects
Can beginners create monster prosthetic effects at home?
Absolutely—but start with pre-made appliances. Brands like Kryolan, Ben Nye, and Mehron offer affordable kits. Avoid DIY molding until you understand material curing times and skin safety.
How long do monster prosthetic effects last?
Foam latex: 4–6 hours with proper sealing. Silicone: 8+ hours. Reusability depends on removal care—silicone pieces can last months if stored flat in airtight containers.
Are monster prosthetic effects safe for sensitive skin?
Always patch-test adhesives 24 hours prior. Use medical-grade Pros-Aide (hypoallergenic) over spirit gum, which contains colophony—a common irritant (per FDA allergen database).
What’s the biggest mistake new artists make?
Over-blending. Smudging edges destroys fine texture. Stipple, don’t smear.
Conclusion
Monster prosthetic effects aren’t about shock value—they’re about storytelling through texture, shadow, and believable anatomy. Whether you’re crafting a zombie extra or a mythic beast, success hinges on material knowledge, skin prep, and respect for the edge. Skip the shortcuts. Invest in technique. And for the love of Giger, stop using hot glue.
Now go haunt some mirrors—and maybe pack extra Pros-Aide remover. Your future self (and your pores) will thank you.
Like a Tamagotchi, your prosthetic needs daily care: feed it alcohol, clean its edges, and never let it die on your face.
Gelatin melts fast,
Silicone holds through the storm—
Monster dreams stay glued.