Ever tried creating a zombie apocalypse look for Halloween and ended up looking more like a melted crayon? Yeah, us too. Advanced prosthetic makeup isn’t just about slapping on some latex—it’s an art form that blends sculpting, painting, and storytelling. In this guide, we’ll dive into the craft of advanced prosthetic makeup and how you can elevate your skills from “meh” to “mesmerizing.”
You’ll learn why advanced prosthetic makeup is worth mastering, step-by-step techniques to create jaw-dropping effects, insider tips from pros, real-world examples, and answers to FAQs—all sprinkled with confessions, rants, and quirky humor. Let’s get started!
Table of Contents
- Key Takeaways
- Why Advanced Prosthetic Makeup Matters
- Step-by-Step Guide to Mastering Advanced Prosthetic Makeup
- Tips and Best Practices for Flawless Results
- Real-Life Examples That Inspire
- Frequently Asked Questions About Advanced Prosthetic Makeup
Key Takeaways
- Advanced prosthetic makeup combines technical skill with creative storytelling.
- Quality materials and tools are non-negotiable for professional results.
- Practice is essential—be prepared for trial and error.
- Learning from industry experts accelerates growth.
Why Advanced Prosthetic Makeup Matters
If you’ve ever watched a horror movie or binge-watched HBO’s *Game of Thrones*, you know special effects makeup steals the show. But what if I told you those mind-blowing transformations often start with something as simple as liquid latex and tissue paper?
The problem? Many aspiring artists jump straight into complex projects without understanding the basics. One time, I attempted a werewolf transformation without prepping my skin properly. The result? A red rash that lasted weeks and zero Instagram likes. Brutal honesty: Skipping prep work will sabotage even the most talented creators.
Sounds like your blender trying to crush ice while making smoothies—painful but necessary.
Step-by-Step Guide to Mastering Advanced Prosthetic Makeup
Optimist You:
“Follow these steps, and you’ll be crafting Oscar-worthy looks in no time!”
Grumpy You:
“Ugh, fine—but only if coffee’s involved.”
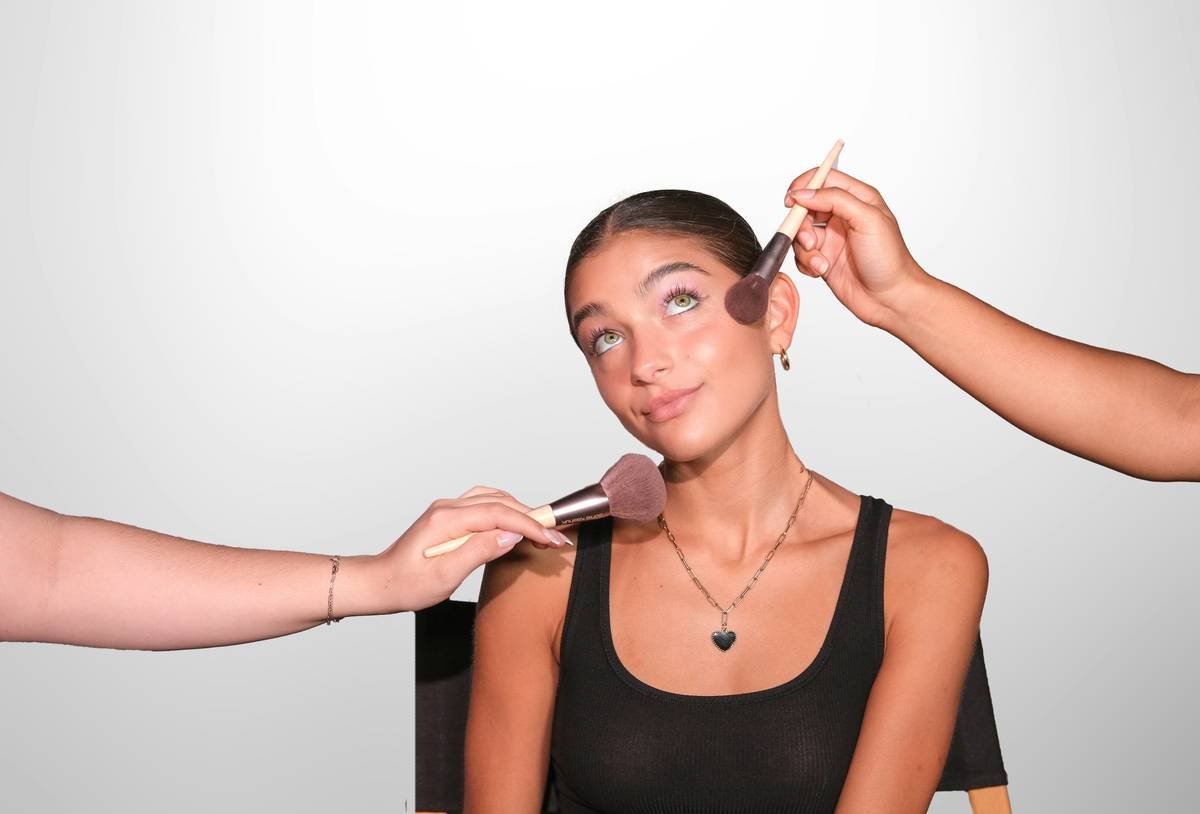
Step 1: Prep Your Canvas (Skin)
Your canvas matters. Cleanse and moisturize your skin thoroughly before applying any product. Avoid greasy lotions; they ruin adhesion. If needed, use a barrier cream to protect sensitive areas.
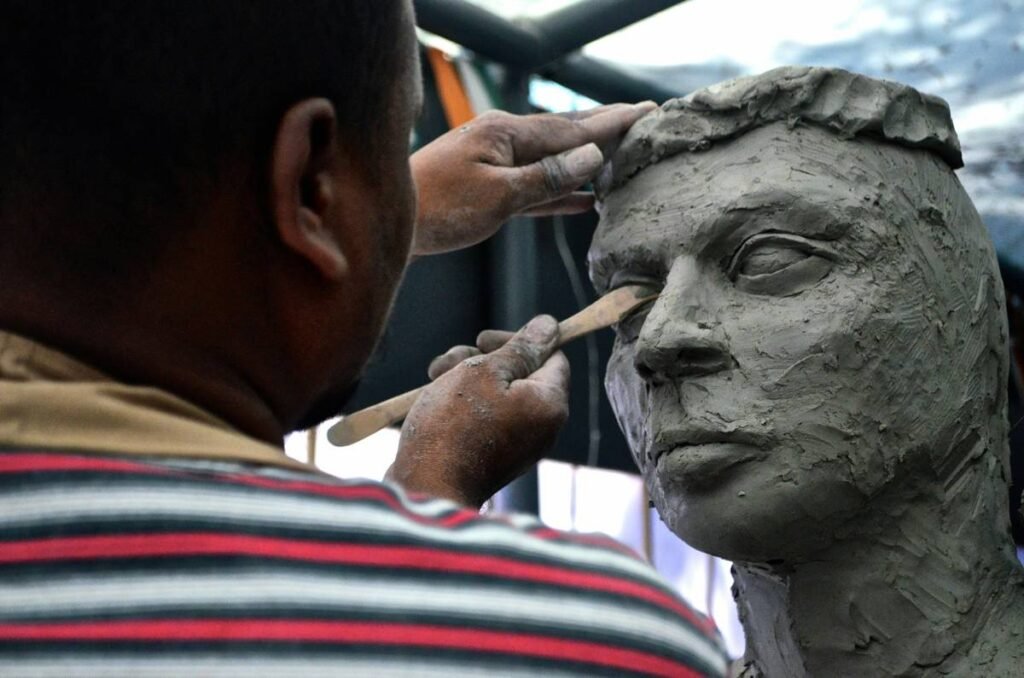
Step 2: Sculpt and Mold
Create custom prosthetics using silicone putty or foam latex. Start small—a scar or wound effect—and build confidence before tackling full-face designs. For beginners, there’s nothing worse than spending hours crafting a prosthetic that doesn’t fit right because you skipped measurements.
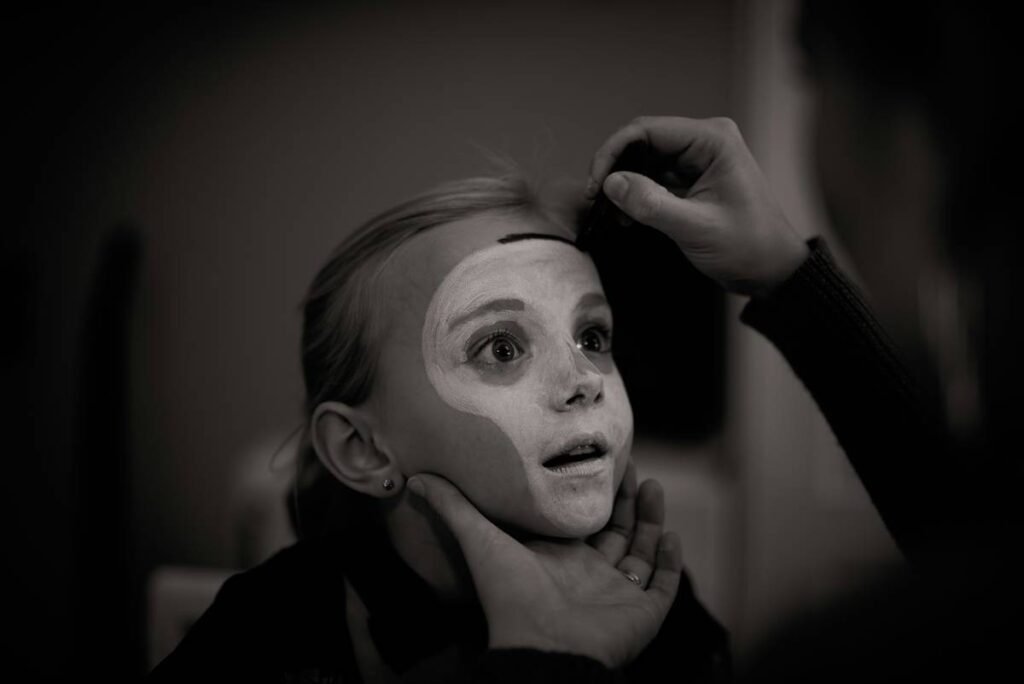
Step 3: Seamless Blending
Blend edges by feathering them with a stipple sponge and foundation. This hides seams and makes the prosthetic appear natural. Terrible tip alert: Don’t skip blending unless you want people asking, “Is that a Halloween mask?”
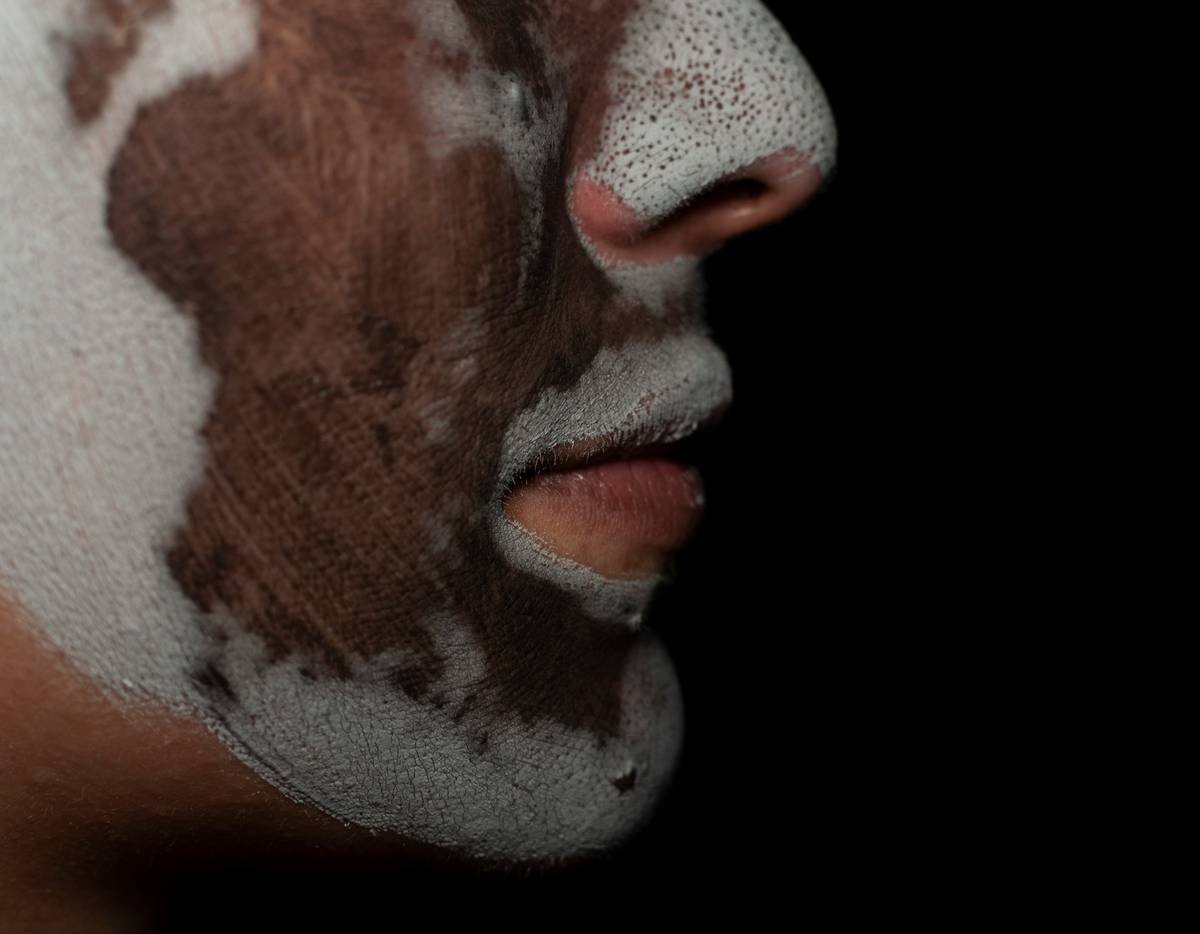
Step 4: Add Depth with Paint
Use alcohol-based paints for durability. Layer colors to add dimension—shadows deepen crevices, while highlights bring features forward. Remember, less pigment means easier adjustments later.
Tips and Best Practices for Flawless Results
- Invest in Quality Tools: Cheap brushes shed bristles faster than a husky sheds fur during summer.
- Test Before Committing: Always do a patch test for allergies. No one wants an allergic reaction mid-zombie walk.
- Work in Layers: Build textures gradually instead of slapping everything on at once.
- Stay Hydrated: Long sessions dehydrate both you AND your model. Keep water nearby.
Real-Life Examples That Inspire
Rick Baker, the legendary makeup artist behind films like *An American Werewolf in London*, revolutionized advanced prosthetic makeup techniques. His meticulous attention to detail inspired generations of artists.
A modern example? Ve Neill’s groundbreaking work in *The Hunger Games*. She transformed actors into Capitol citizens using bold prosthetics and vibrant colors—a testament to creativity meeting technical mastery.
Frequently Asked Questions About Advanced Prosthetic Makeup
How long does it take to apply advanced prosthetic makeup?
Application times vary based on complexity. Simple scars might take 30 minutes, while full-body creature designs can span 6+ hours.
Can I teach myself advanced prosthetic makeup?
Absolutely! Online tutorials, workshops, and practice are invaluable resources. However, mentorship from experienced artists accelerates learning.
What’s the biggest mistake newbies make?
Rushing the process. Taking shortcuts leads to sloppy results. Patience separates amateurs from pros.
Conclusion
Advanced prosthetic makeup transforms imagination into reality—it’s alchemy, storytelling, and craftsmanship all rolled into one. Whether you’re dreaming of Hollywood fame or just want to wow friends at Comic-Con, this guide equips you with actionable insights to succeed.
And remember:
“Layer upon layer,
A masterpiece unfolds.
Patience makes perfection.”