Ever stared at a horror movie, completely mesmerized by how the villain looked utterly inhuman? Ever wondered, “How on earth did they pull that off?” That’s the magic of character makeup—more specifically, prosthetic makeup. It’s not just for Hollywood blockbusters anymore; it’s your secret weapon for creating show-stopping looks. But trust me, I’ve been there—the hours spent gluing latex only to have it peel off mid-scene? Nightmare fuel.
In this guide, we’ll break down everything you need to know about mastering character makeup, focusing on the transformative power of prosthetic makeup. You’ll learn:
- How prosthetics can elevate your character designs.
- A step-by-step process to apply prosthetic makeup like a pro.
- Tips and tricks to avoid rookie mistakes.
- Real-world examples of jaw-dropping transformations.
Table of Contents
- Key Takeaways
- Why Is Character Makeup So Darn Hard?
- Step-by-Step Guide to Applying Prosthetic Makeup
- Tips for Flawless Character Makeup
- Case Studies: From Zero to Hero With Prosthetics
- FAQs About Character Makeup
Key Takeaways
- Prosthetic makeup is an essential tool for creating realistic and fantastical characters.
- Preparation is king—failing to prep skin properly will ruin even the best application.
- Blend, blend, BLEND! Seamless blending makes or breaks believability.
- Patience pays off; rushing through steps leads to catastrophic peeling and cracking.
Why Is Character Makeup So Darn Hard?
Let’s get real here: if you’ve never worked with prosthetics before, you might think slapping some latex on your face does the trick. Spoiler alert—it doesn’t. I once tried doing zombie makeup for Halloween without sealing the edges properly. The result? A gooey mess halfway down my neck by the time trick-or-treating started. Not cute.
Character makeup, especially prosthetics, demands precision. One wrong move, and you’ve got glue where it shouldn’t be, uneven textures, or colors that scream “cheap costume store.” Plus, let’s face it—prosthetics can be expensive. If you botch it, you’re throwing money straight into oblivion.
Step-by-Step Guide to Applying Prosthetic Makeup
Optimist You: “Applying prosthetic makeup must be so fun!”
Grumpy Me: “Fun? Sure…if you enjoy smelling spirit gum all day.”
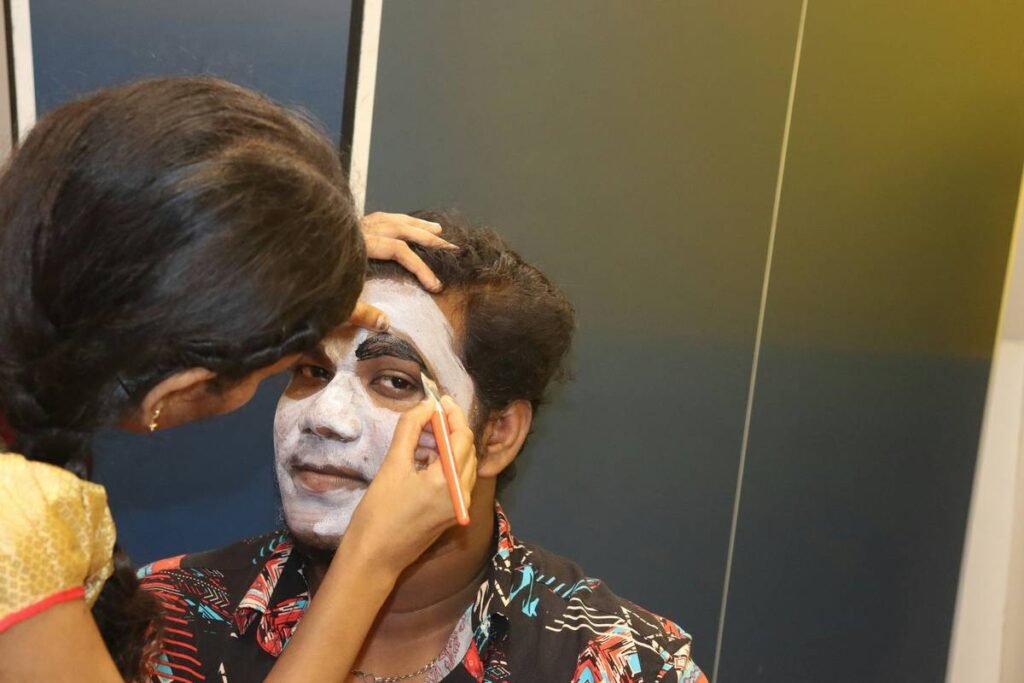
Step 1: Prep Your Canvas
Your face is the canvas, and no artist starts painting on dirty walls. Cleanse your skin thoroughly, then apply a primer or barrier cream. This step ensures adhesion while protecting your skin from irritation.
Step 2: Choose the Right Prosthetic
Not all prosthetics are created equal. For full coverage (e.g., turning into an alien), opt for silicone-based pieces. For smaller details (like wounds), foam latex works wonders. Just remember: cheap materials = cheap results.
Step 3: Adhere and Smooth Edges
Use spirit gum or medical adhesive to stick your piece onto your skin. Press firmly and smooth out any air bubbles. Then, seal those edges with liquid latex or edge sealer. If you skip this step, expect your masterpiece to unravel faster than spaghetti noodles.
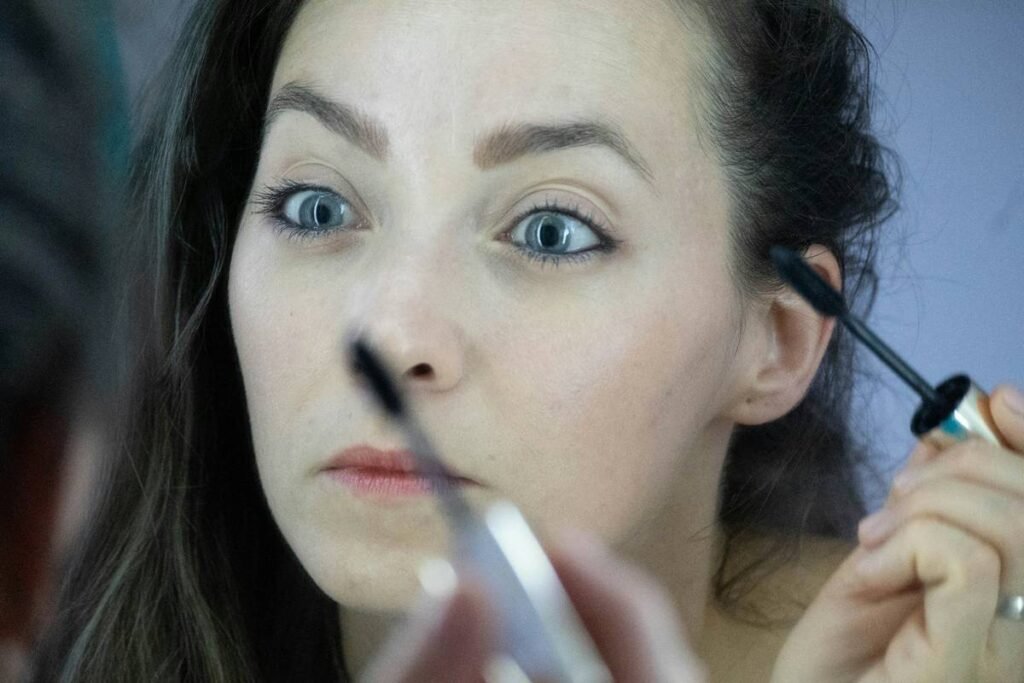
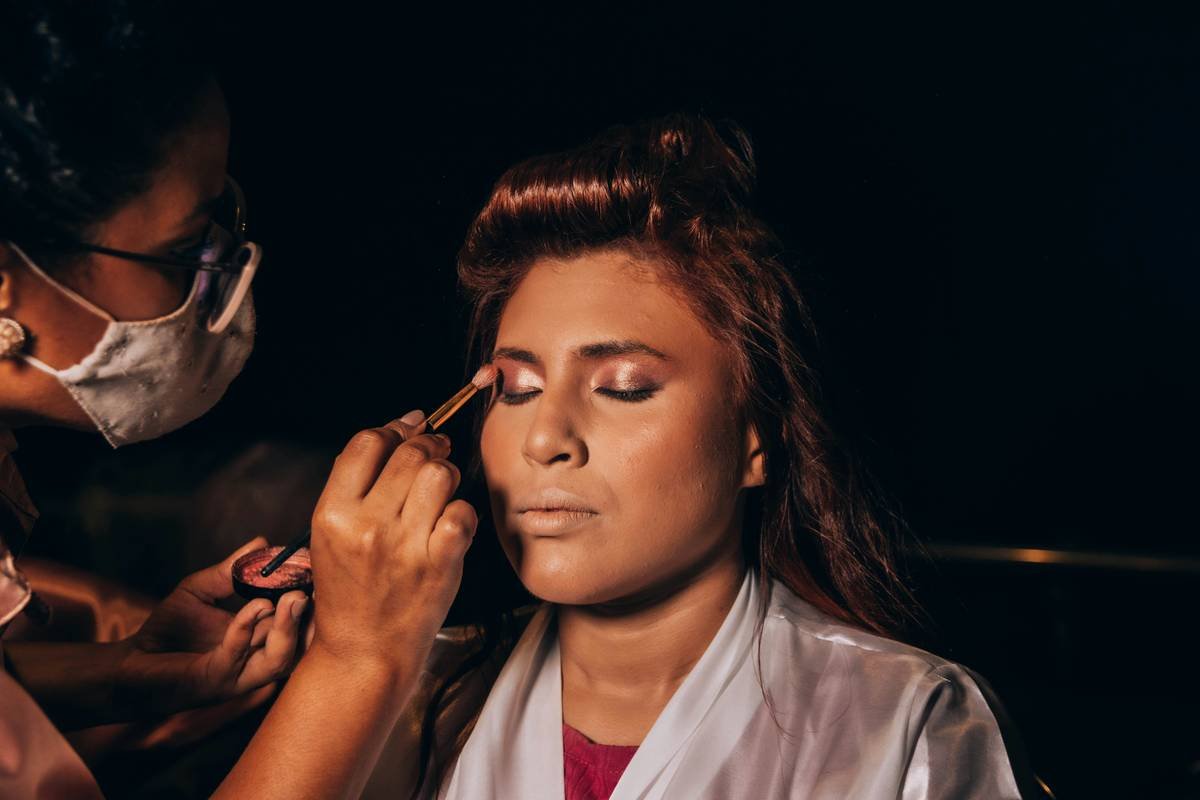
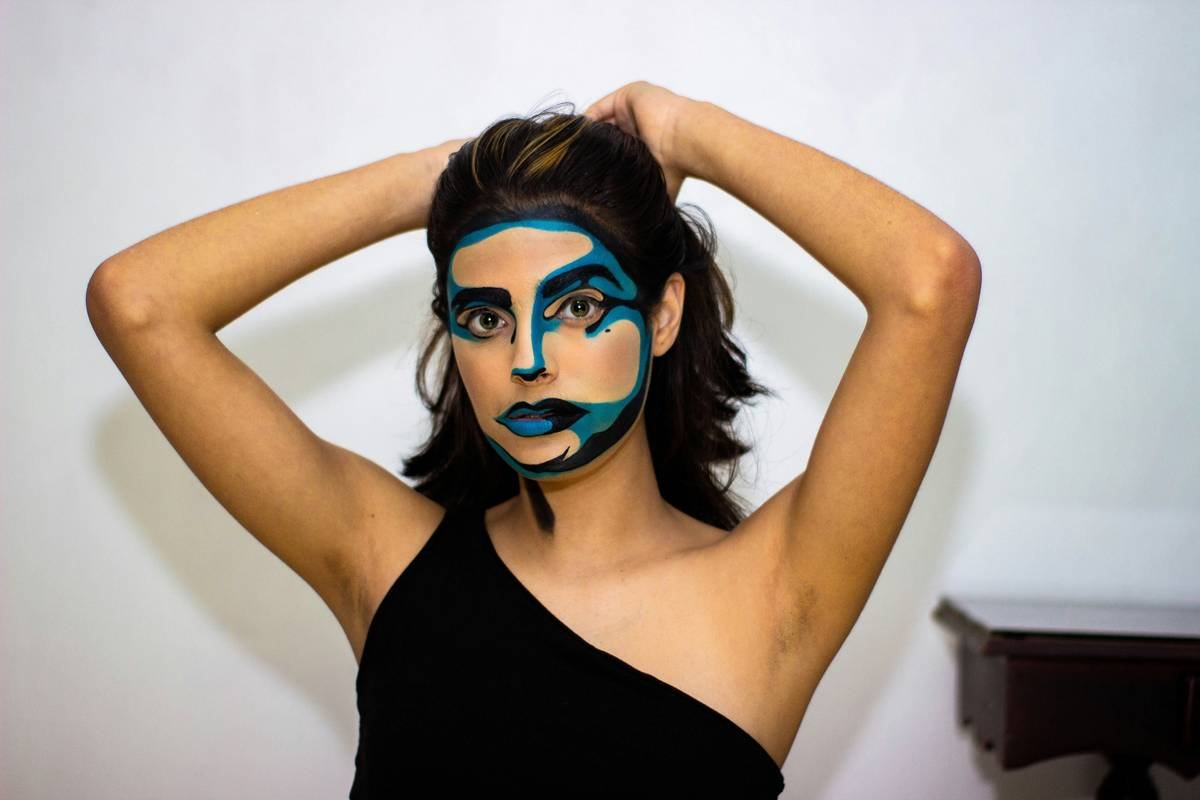
Step 4: Paint Like Picasso
Time to bring your creation to life! Use alcohol-based paints for durability. Start with base colors, then layer in shading and highlights. Blending is NON-NEGOTIABLE. Trust me, harsh lines will scream “amateur hour.”
Tips for Flawless Character Makeup
- Invest in Quality Tools: Cheap brushes and sponges leave streaks. Don’t sabotage yourself!
- Practice Makes Permanent: Test new techniques on fake skin or practice areas first. Mistakes happen, but they don’t need to ruin your big reveal.
- Work in Layers: Thin layers dry faster and look more natural. Thick globs? Recipe for disaster.
- Stay Hydrated (and Patient): Dry environments wreak havoc on both your skin and prosthetics. And yes, patience matters—a rushed job looks rushed.
- Terrible Tip Alert: “Just wing it!” No. Big NO. Winging it won’t work unless you’re intentionally going for chaotic clown energy.
Case Studies: From Zero to Hero With Prosthetics
Case Study #1: Zombie Apocalypse Gone Right
Jessica, a cosplayer known as @GoreQueen, transformed herself into a Walking Dead extra using affordable eBay prosthetics. Her secret? Meticulous blending and heavy contouring. She went viral on TikTok, racking up over 5 million views. Moral of the story? Skill trumps budget every time.
Case Study #2: Fantasy Film Fanatic
Mark, a DIY enthusiast, crafted his own elf ears and cheek prosthetics for a Lord of the Rings cosplay. By documenting his process online, he built a loyal following eager to learn his tricks. His success proves originality sells.
FAQs About Character Makeup
Q: Can I use regular makeup products with prosthetics?
Absolutely not. Most regular cosmetics aren’t compatible with prosthetic materials. Stick to alcohol-based or specialty makeup designed for FX work.
Q: How do I prevent my prosthetics from falling off mid-event?
Seal. Every. Edge. Also, carry touch-up supplies because accidents happen. Spirit gum touch-up kits are lifesavers.
Q: Is prosthetic makeup safe for sensitive skin?
Most products are safe when used correctly, but always patch test new items. Opt for hypoallergenic options whenever possible.
Conclusion
Character makeup isn’t just about looking cool—it’s about telling stories. With prosthetic makeup, you hold the power to become anyone (or anything). From prepping your skin to perfecting seamless blends, this guide arms you with the knowledge to tackle any transformation confidently.
So go ahead—channel your inner monster, elf, or superhero. Just don’t forget to seal those edges…seriously.
And now, because nostalgia fuels creativity:
Latex dries slowly,
Blending brings dreams alive,
Like Tamagotchis.