Ever stared blankly at a latex prosthetic, wondering why it looks more like a pancake than a gruesome wound? You’re not alone. For many budding makeup artists diving into the world of costume and prosthetic makeup, nailing those realistic gore makeup effects can feel impossible. But with the right techniques, tools, and attitude, you’ll be creating gory masterpieces that stop people in their tracks.
In this post, we’re breaking down everything you need to know about achieving jaw-dropping gore makeup effects—from foundational basics to advanced tricks—and throwing in brutal honesty and quirky tips along the way. By the end, you’ll have all the skills (and maybe even some laughs) needed to slay your next project.
Table of Contents
- Why Are Gore Makeup Effects Important?
- Step-by-Step Guide to Creating Gore Makeup Effects
- Tips for Perfecting Your Prosthetics
- Examples & Inspiration from Real Artists
- FAQs About Gore Makeup Effects
Key Takeaways
- Gore makeup effects require precision but allow limitless creativity.
- High-quality materials like silicone gel and alcohol-activated paints elevate results.
- Mistakes happen—but they often lead to unexpected successes!
Why Are Gore Makeup Effects Important?
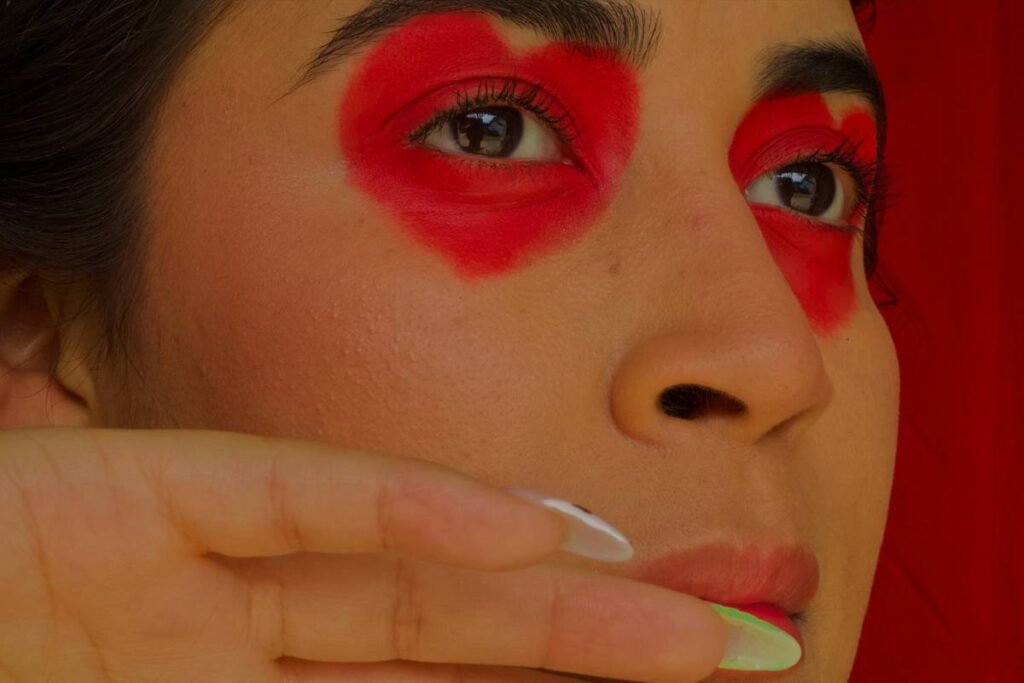
Let’s face it: whether you’re working on an indie horror film, Halloween costume, or theatrical performance, nothing screams realism quite like impeccable gore makeup effects. These details immerse audiences into your story, evoking visceral reactions—disgust, awe, fear—that no CGI effect could replicate authentically. And let’s not forget how much fun they are to create!
I once tried crafting a zombie bite using only drugstore foundation and ketchup. Spoiler alert: It looked less “Walking Dead” and more “Fast Food Spill.” That fiasco taught me one thing—if you want professional-grade gore, invest in quality supplies and learn proper application techniques. Trust me; your Instagram followers will thank you later.
Step-by-Step Guide to Creating Gore Makeup Effects
What Tools Do I Need to Get Started?
You don’t need a Hollywood budget to get started. Here’s what should go into your gore kit:
- Silicone gel or liquid latex for texture.
- Alcohol-activated paints (red, black, purple).
- Precision brushes for detailing small wounds.
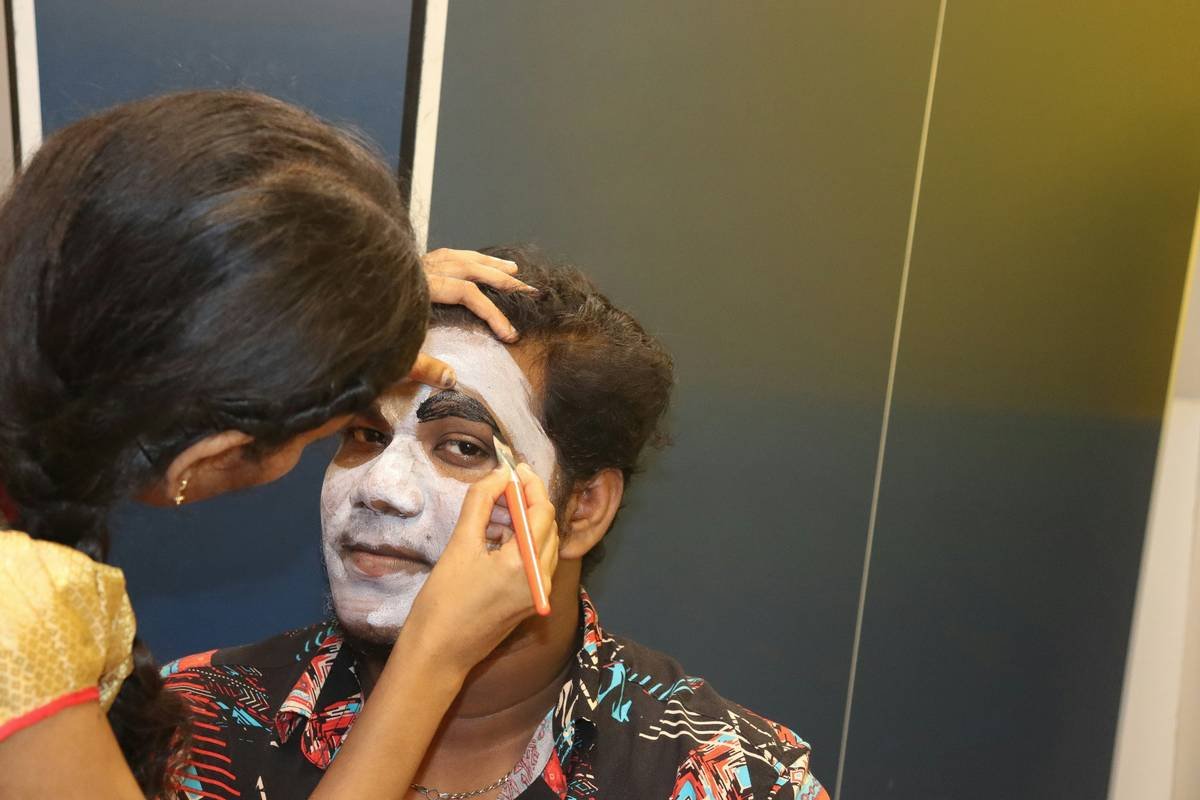
How Do I Apply Prosthetics Without Looking Fake?
- Prep Skin: Clean and moisturize the area. Dry patches = disaster zones.
- Apply Adhesive: Use spirit gum or skin-safe glue sparingly.
- Blend Edges: Feather edges with a sponge dipped in water-based foundation.
- Add Pigmentation: Layer colors strategically to mimic blood pooling or bruising.
Optimist You: “Piece of cake! Follow these steps!”
Grumpy You: “Ugh, fine—but if this takes longer than two hours, bring snacks.”
Tips for Perfecting Your Prosthetics
Do’s:
- Experiment with layering textures to add dimension.
- Study anatomy books so injuries look anatomically accurate.
- Invest in high-quality synthetic blood—it dries faster and smears less.
Don’ts:
- Overdo highlights/shadows. Subtlety is key here.
- Skip blending. Uneven edges scream “cheap prosthetic.”
- TERRIBLE TIP ALERT: Never try melting wax directly onto skin unless you fancy third-degree burns.
Examples & Inspiration from Real Artists
We’ve seen incredible work by pros like Tom Savini, whose practical effects revolutionized horror cinema. Today, modern-day wizards like @GoreQueen44 dominate social media platforms with hyper-realistic creations that leave viewers queasy yet amazed.
“The first time I watched someone peel off a full-face prosthetic, my brain short-circuited. How IS that human possible?!” — Sarah, aspiring FX artist
Rant Time: Why does every online tutorial assume everyone has access to $50 tubes of silicone?! Let’s normalize sharing cheaper alternatives, folks. #InclusiveBeauty
FAQs About Gore Makeup Effects
Where Can I Buy Affordable Prosthetic Kits?
Thrift stores and eBay are treasure troves for discounted supplies. Plus, brands like Mehron offer affordable starter kits.
Can I Do This If I’m Not Naturally Artistic?
Absolutely! Practice builds skill. Start simple and build confidence over time.
How Long Does It Take to Master?
Depends on dedication. Some nail basic techniques in weeks; mastery comes after years of experimenting.
Conclusion
Gore makeup effects are equal parts science and artistry, demanding patience, practice, and passion. Armed with the right mindset and tools, there’s virtually no limit to what you can achieve. So grab your palette, channel your inner mad scientist, and dive headfirst into the gory unknown.
Like a Tamagotchi, your prosthetics won’t grow without daily TLC.