Hook: Ever spent hours perfecting your horror makeup effects only to have it fall apart before the first scream? We’ve been there. Trust us, it’s not just you.
In this post, we’ll dive deep into everything you need to know about nailing horror makeup effects, from picking the right prosthetics to avoiding rookie mistakes that could ruin your masterpiece. You’ll also learn expert tips, common pitfalls, and real-world examples straight from the pros. Grab your brushes—it’s time to get gory!
Table of Contents
- Why Horror Makeup Effects Matter
- Step-by-Step Guide to Perfect Prosthetics
- Tips for Gore Perfection
- Real-World Examples & Inspiration
- FAQ on Horror Makeup Effects
Key Takeaways
- Proper preparation is key to achieving seamless horror makeup effects.
- Quality materials (like silicone-based prosthetics) make all the difference.
- Avoid common beginner errors like skipping blending or using cheap glue.
- Experimentation leads to mastery; don’t be afraid to try new techniques.
Why Do Horror Makeup Effects Matter?
Optimist You: “Horror makeup effects are fun!”
Grumpy You: “Until someone asks why your zombie looks more like a sunburned tourist…”
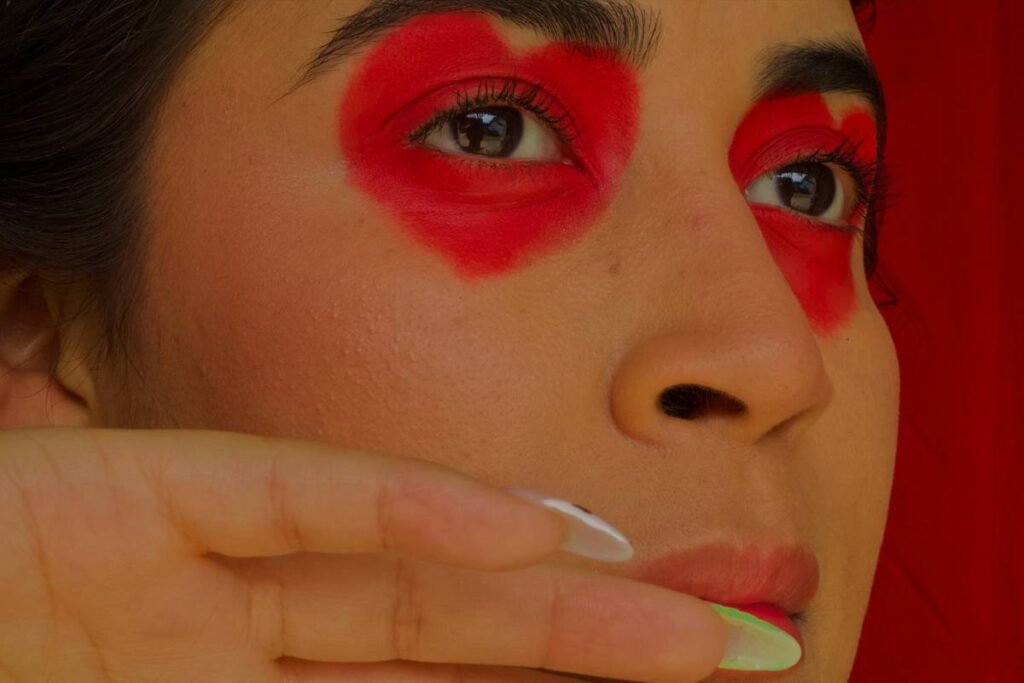
If you’re dabbling in costume makeup, especially within the realm of prosthetic work, mastering horror makeup effects isn’t just about looking scary—it’s about storytelling. Whether you’re prepping for Halloween, a film role, or a themed event, these effects allow you to transform reality into something spine-chillingly surreal.
However, poor execution can break immersion faster than you can say “Boo!” A droopy scar here, an uneven application of fake blood there—little mistakes add up, leaving viewers distracted instead of terrified.
How to Nail Your Horror Makeup Effects: A Step-by-Step Guide
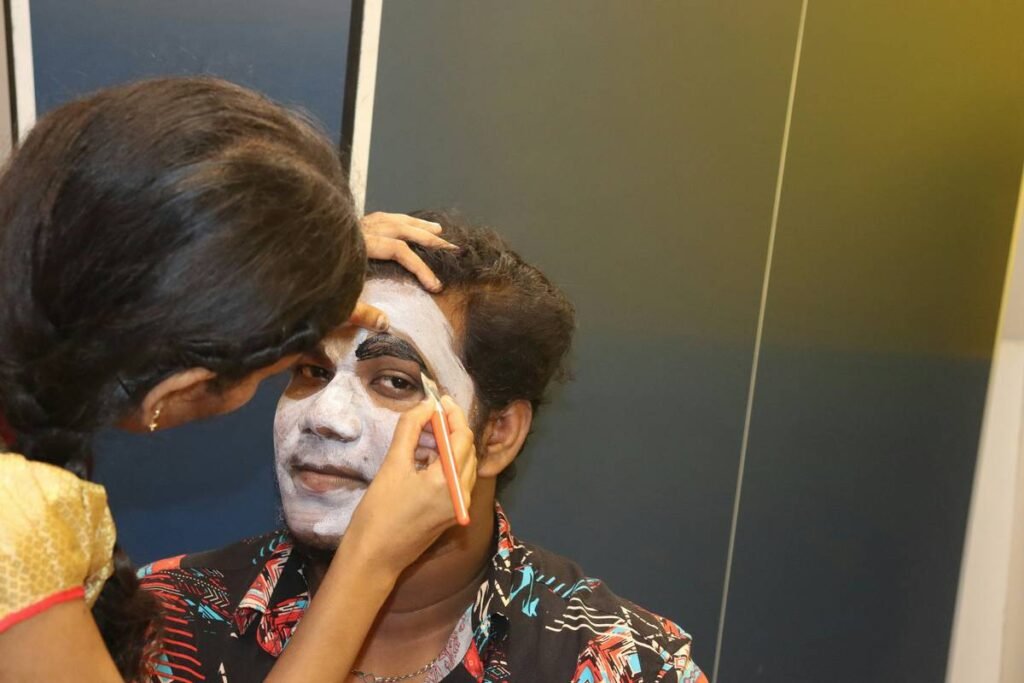
Step 1: Start with Clean Skin
Before slapping on any prosthetics, cleanse and moisturize your skin thoroughly. This ensures better adhesion and prevents irritation later. Think of it as priming a canvas—you wouldn’t paint over dirt, would you?
Step 2: Choose the Right Materials
- Prosthetics: Silicone prosthetics are industry-standard due to their flexibility and realism. Avoid latex if possible; while cheaper, they often crack under stress.
- Adhesives: Spirit gum or pros-aide cream creates a strong bond without damaging your skin.
- Blood Products: Gelatin-based fake blood works well for drips and splatters, while coagulated formulas mimic dried gore.
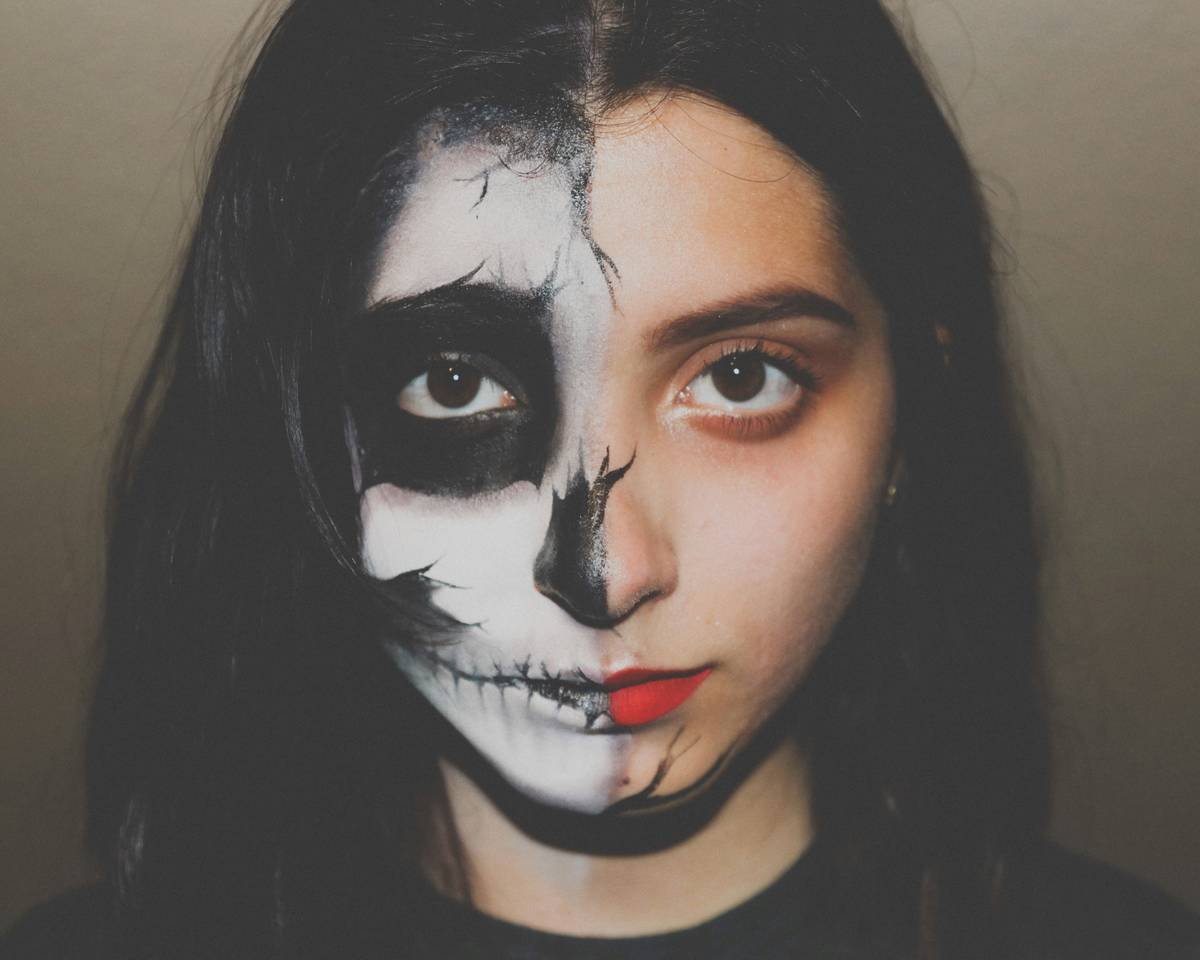
Step 3: Blend, Blend, Blend
No matter how flawless your prosthetic piece, visible edges will shatter the illusion. Use liquid foundation, powders, and airbrush tools to blend seamlessly into natural skin tones. Patience pays off here!
Top Tips for Mastering Horror Makeup Effects
- Lighting Matters: Always test your look in different lighting conditions. Horror makeup effects lose impact under harsh LED lights versus dim candlelight.
- Less Is More: Resist the urge to pile on layers of gore. Subtlety keeps things believable—even when creating monsters.
- Stay Hydrated: Long shoots? Keep water nearby. Dehydrated actors = flaky prosthetics.
- Terrible Tip Disclaimer: Never use superglue to attach prosthetics unless you enjoy explaining to doctors why your eyebrows fell off.
Rant Section: Oh, and let’s talk about those bargain-bin prosthetics flooding TikTok ads. Yeah, sure, they’re $5—but they look like Play-Doh slapped onto your face. Invest in quality products once, cry one less tear during removal.
From Screen to Reality: Real-World Success Stories
Take Rick Baker, legendary FX artist behind classics like *An American Werewolf in London*. His secret? Meticulous attention to detail paired with innovative materials. He didn’t just create creatures—he brought them to life.
Newbies can draw inspiration from indie filmmakers who DIY their own horror makeup effects. Platforms like YouTube offer tutorials featuring step-by-step transformations using affordable yet effective techniques. Check out channels like Bloody Delights and SFX Squad for inspo!
Frequently Asked Questions About Horror Makeup Effects
What’s the best type of adhesive for prosthetics?
Spirit gum is great for beginners, but seasoned pros swear by pros-aide for its durability and easy removal.
Can I remove spirit gum safely?
Yes! Use rubbing alcohol or adhesive remover specifically designed for skin-safe applications.
How long does it take to apply professional-grade horror makeup?
Anywhere from 2–6 hours depending on complexity. Plan accordingly!
Conclusion
Mastering horror makeup effects requires patience, practice, and premium materials—but the payoff is worth every second. With the right approach, you’ll craft looks so hauntingly realistic, people won’t believe their eyes—and isn’t that what good horror makeup is all about?
To recap, focus on proper prep, choose high-quality supplies, and embrace experimentation. And remember: even the best artists had to start somewhere. Now go forth and spook responsibly!
PS: Life hack: Fake blood doubles as ketchup replacement… said no one ever. 🍅👻