Ever spent hours crafting a prosthetic makeup look, only to have it fall apart mid-scene? We’ve all been there.
Prosthetic makeup is the unsung hero of costume design and special effects, blending artistry with technical skill. But mastering professional makeup techniques for this microniche isn’t just about slapping on latex—it’s an intricate dance between creativity and precision.
In this guide, we’ll dive deep into everything you need to know about prosthetic makeup: from common mistakes to expert tips (and one truly terrible tip) that will either save your next project or give you nightmares. You’ll also get insights into tools, step-by-step instructions, and real-world examples of jaw-dropping work in action!
Table of Contents
- Key Takeaways
- Why Prosthetic Makeup Matters
- Step-by-Step Guide to Applying Prosthetics
- Best Practices for Flawless Application
- Real-Life Examples & Case Studies
- FAQs About Professional Makeup Techniques
Key Takeaways
- Professional makeup techniques require patience, practice, and precision.
- Proper skin prep ensures better adhesion and longevity of prosthetics.
- Avoid overloading products—less is often more when working with prosthetics.
- Learning from failures (yes, even the disastrous ones) can elevate your craft.
Why Prosthetic Makeup Matters
Sure, everyone loves a good smoky eye or bold lip—but prosthetic makeup takes things up several notches. It’s what transforms actors into werewolves, aliens, or aging characters. Without these professional makeup techniques, Hollywood blockbusters like Star Wars or The Lord of the Rings wouldn’t feel nearly as immersive.
But here’s the kicker: getting it wrong can be catastrophic. I once worked on a zombie apocalypse shoot where my poorly sealed prosthetics started peeling off during filming. Picture this: mid-scream, half the actor’s face slid south. Yeah, *whirrrr*, cue awkward reshoots and bruised egos.
Step-by-Step Guide to Applying Prosthetics
Optimist You: “This is going to be so much fun!”
Grumpy You: “Ugh, fine—but only if coffee’s involved.”
Step 1: Prep Your Canvas
Your model’s skin needs to be squeaky clean. Cleanse, tone, and lightly moisturize—then let it dry completely. Skipping this step? That’s how disasters happen.
Step 2: Test Adhesives
Different skins react differently to spirit gum, liquid latex, or medical-grade adhesives. Always patch-test first to avoid allergic reactions. Trust me; no one wants a rash-induced meltdown mid-shoot.
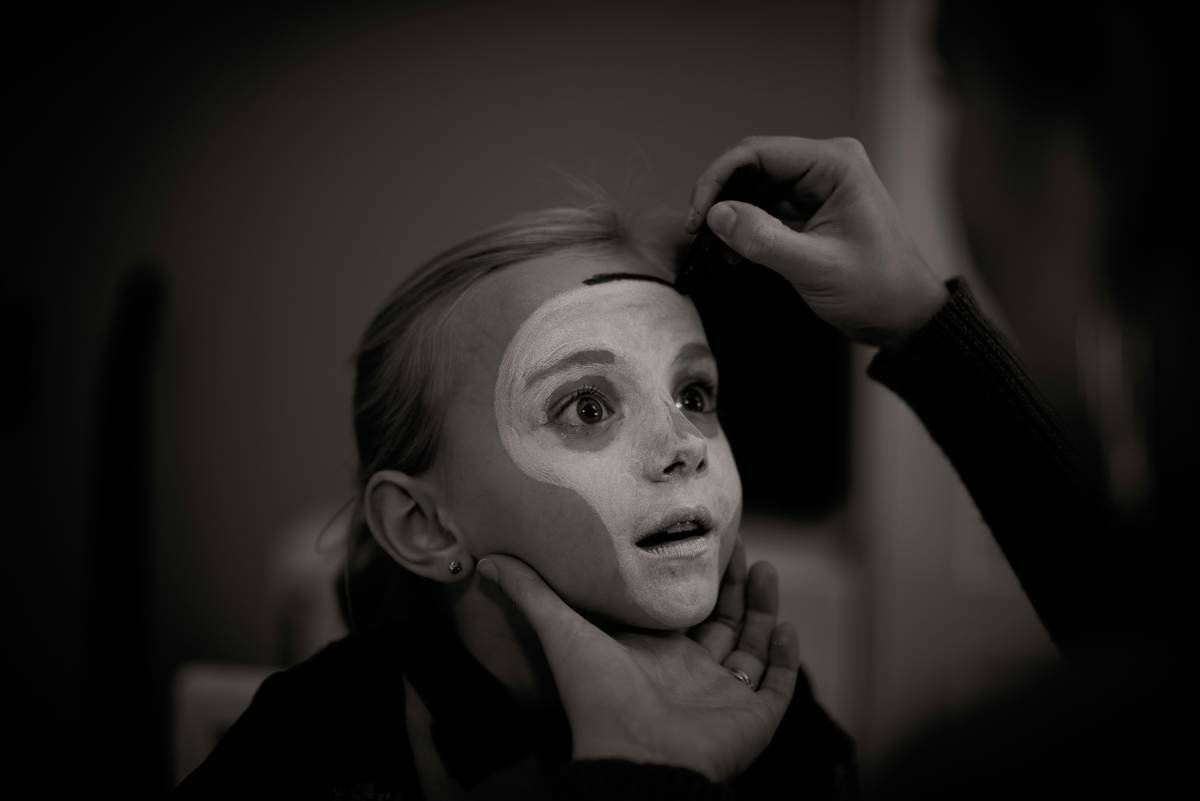
Step 3: Apply the Prosthetic Piece
Carefully position the piece, smoothing out air bubbles as you go. Use a stippling sponge or brush for seamless blending at the edges.
Step 4: Seal the Deal
Once the prosthetic is in place, seal it with adhesive powder or setting spray. This locks everything down, ensuring your masterpiece survives sweat, tears, and whatever else comes its way.
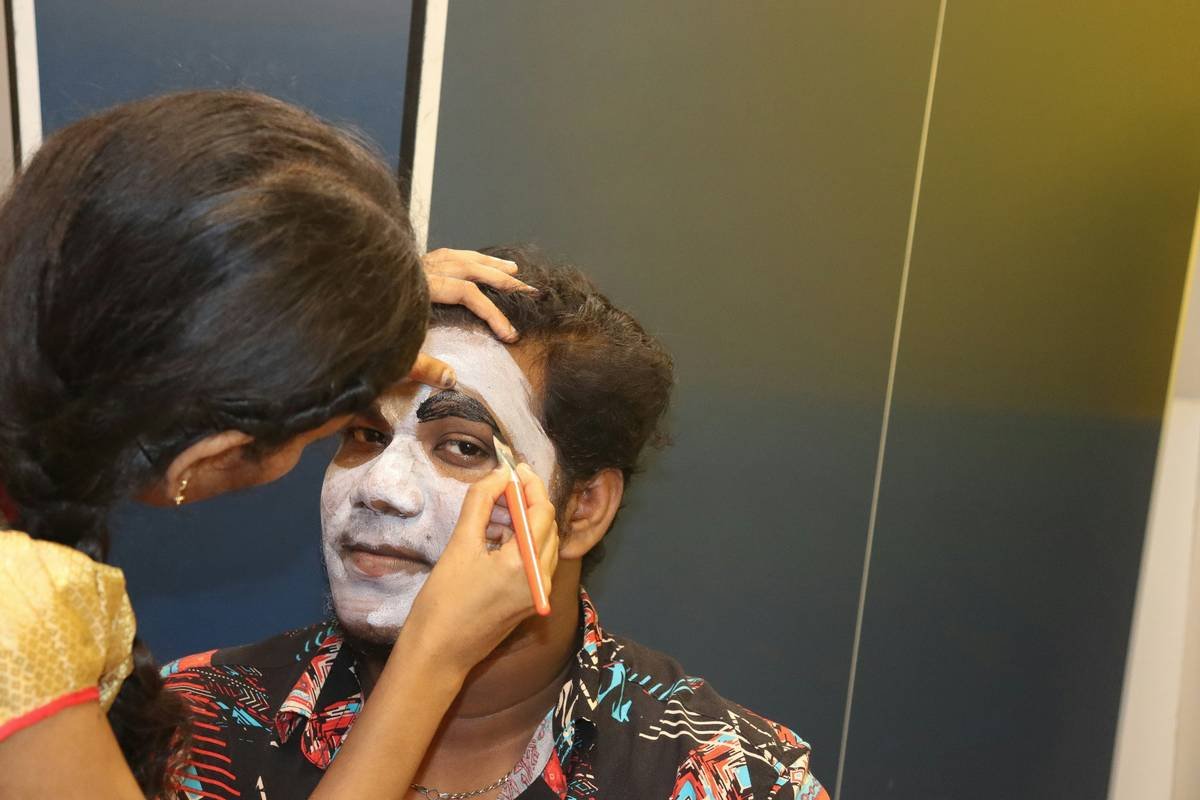
Best Practices for Flawless Application
- Less Is More: Don’t overload your brushes or sponges with foundation—you risk caking up the prosthetic edges.
- Blend Like Crazy: Spend extra time feathering the transition zones between skin and prosthetic material.
- Lighting Matters: Always check your work under multiple light sources. Bathroom fluorescents lie harder than reality TV contestants.
Rant Break:
Can we talk about poor lighting choices for a second? Nothing screams amateur hour louder than flawless daylight application turning into “cheap Halloween mask” under harsh studio lights. Get. A. Ring. Light.
Real-Life Examples & Case Studies
Take Greg Cannom, three-time Oscar winner for his work in films like Bram Stoker’s Dracula. His use of prosthetic makeup combined with hand-painted details set new standards for realism. Or look at modern marvels like Jamie Kelman’s work on Game of Thrones. Those White Walkers didn’t scare themselves, people!
FAQs About Professional Makeup Techniques
Q: How do I remove prosthetic makeup safely?
A: Gently dissolve adhesives using alcohol-free removers, then wash the area thoroughly.
Q: Can beginners try prosthetic makeup?
A: Absolutely! Start small—with basic pieces—and gradually experiment with advanced designs.
Q: What’s the worst advice ever given about prosthetic makeup?
A: Someone once told me to skip priming the skin because “it saves time.” Spoiler alert: Their prosthetic literally fell off during a crucial scene.
Conclusion
Mastering professional makeup techniques for prosthetics requires equal parts artistry, technique, and trial-and-error lessons learned the hard way. From prepping your canvas to applying final touches, each step plays a vital role in creating believable transformations.
So grab your kit, channel your inner movie makeup wizard, and remember—the devil (and the magic) is in the details.
Like a Tamagotchi, your skills need daily care.
Nurture them well, and watch dreams unfold.* 🧮