Ever tried to create a realistic wound for a costume party, only to end up looking like you just got a bad case of the hives? Yep, we’ve all been there. Molding prosthetic makeup is an art form that can be both incredibly rewarding and frustrating. In this guide, I’ll walk you through everything you need to know to avoid those embarrassing moments and create truly stunning effects.
Table of Contents
Key Takeaways
- Understand the importance and challenges of molding prosthetic makeup.
- Learn a step-by-step process to create your own prosthetics.
- Discover tips and best practices to enhance your skills.
- See real-world examples and success stories.
Problem/Background: Why Molding Prosthetic Makeup Matters
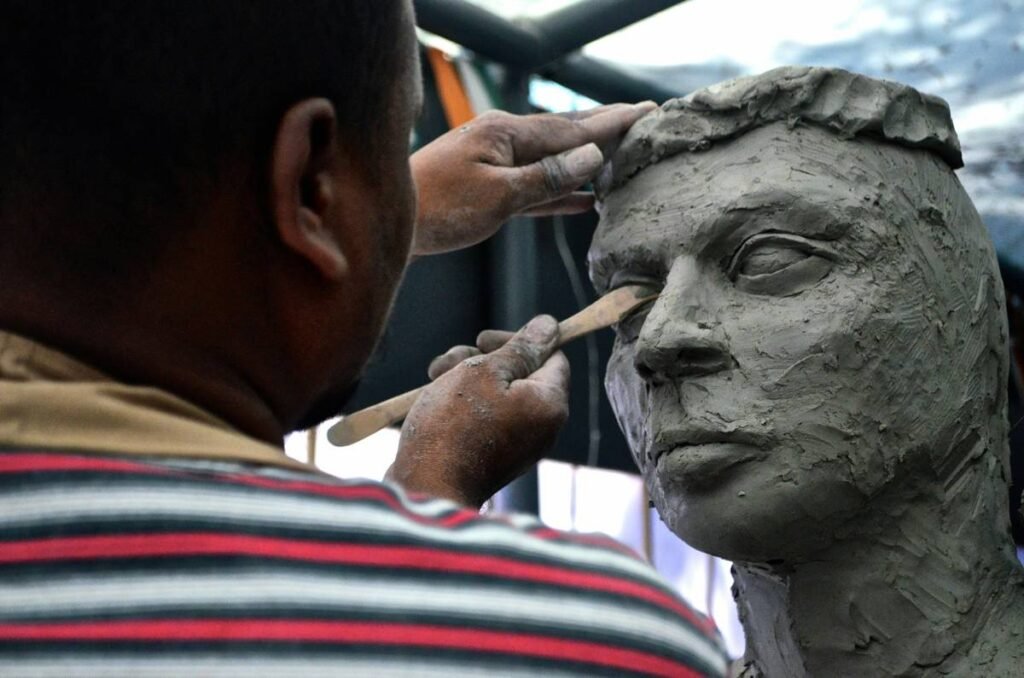
Creating believable and detailed prosthetic makeup isn’t just about making a costume look good—it’s about transforming into a character, telling a story, and leaving a lasting impression. Whether you’re a beginner or a seasoned pro, the challenges are real. From choosing the right materials to mastering the techniques, there’s a lot to consider. But the payoff is worth it. Imagine walking into a room and everyone does a double-take—that’s the power of well-executed prosthetic makeup.
Step-by-Step Guide: Creating Your Own Prosthetic Makeup
Step 1: Choose Your Materials
Optimist You:* ‘Let’s pick the perfect materials!’
Grumpy You: ‘Ugh, fine—but only if coffee’s involved.’
Start by selecting the right materials. You’ll need:
- Lifecast or pre-made molds
- Silicone or latex
- Colorants and pigments
- Adhesives and removers
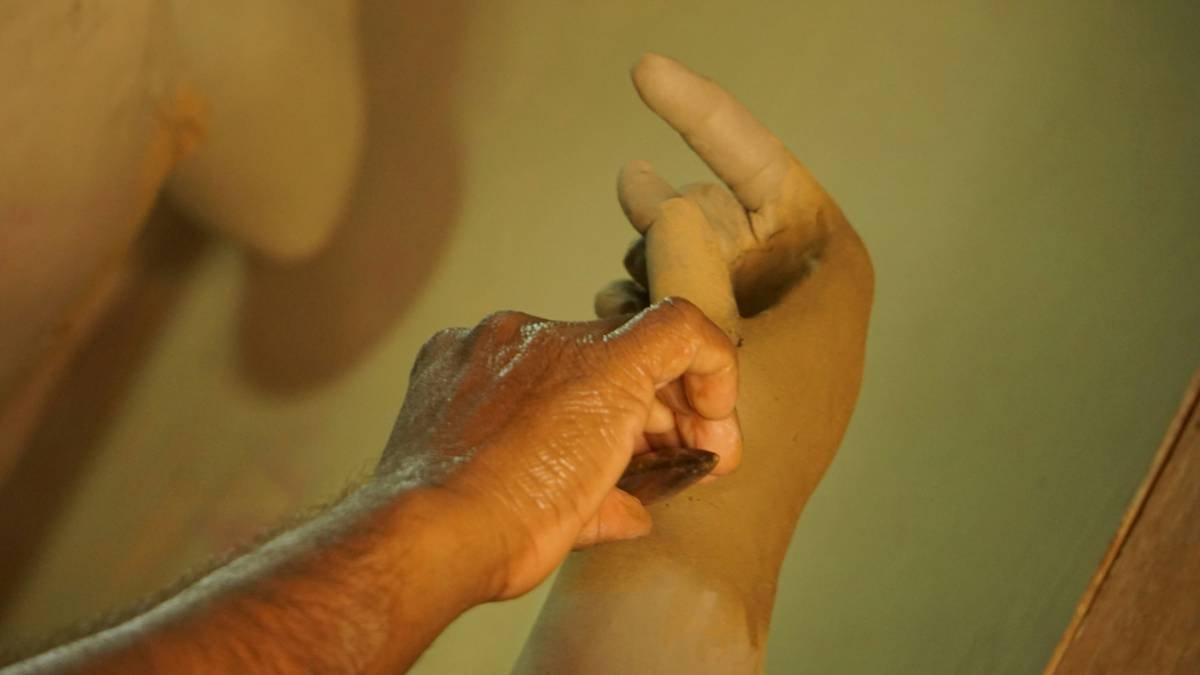
Step 2: Prepare the Mold
Clean and prepare your mold. Make sure it’s free from any debris or imperfections. This step is crucial for a smooth final product.
Step 3: Mix the Prosthetic Material
FOLLOW THE INSTRUCTIONS CAREFULLY. Mixing the silicone or latex properly is key. A little goes a long way, and too much of one component can ruin your entire project.
Step 4: Apply the Material to the Mold
Pour the mixture slowly and evenly into the mold. Tap the mold gently to remove any air bubbles. This step can be a bit finicky, but stay patient—your future self will thank you.
Tips & Best Practices: Enhancing Your Prosthetic Makeup Skills
- Practice Makes Perfect: Start with simple projects and work your way up. The more you practice, the better you’ll get.
- Invest in Quality Tools: Spend a little extra on high-quality materials and tools. They make a big difference in the final outcome.
- Watch Tutorials: YouTube and other platforms have a wealth of tutorials. Learn from the experts and refine your techniques.
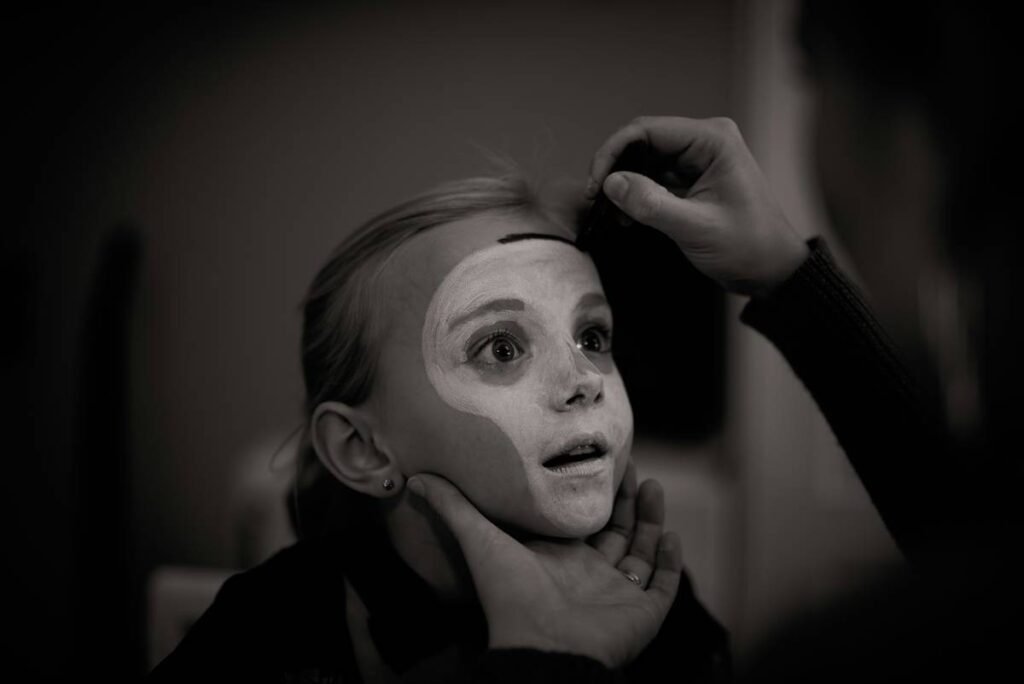
Examples & Case Studies: Real-World Success Stories
Let’s take a look at some real-world examples of excellent prosthetic makeup:
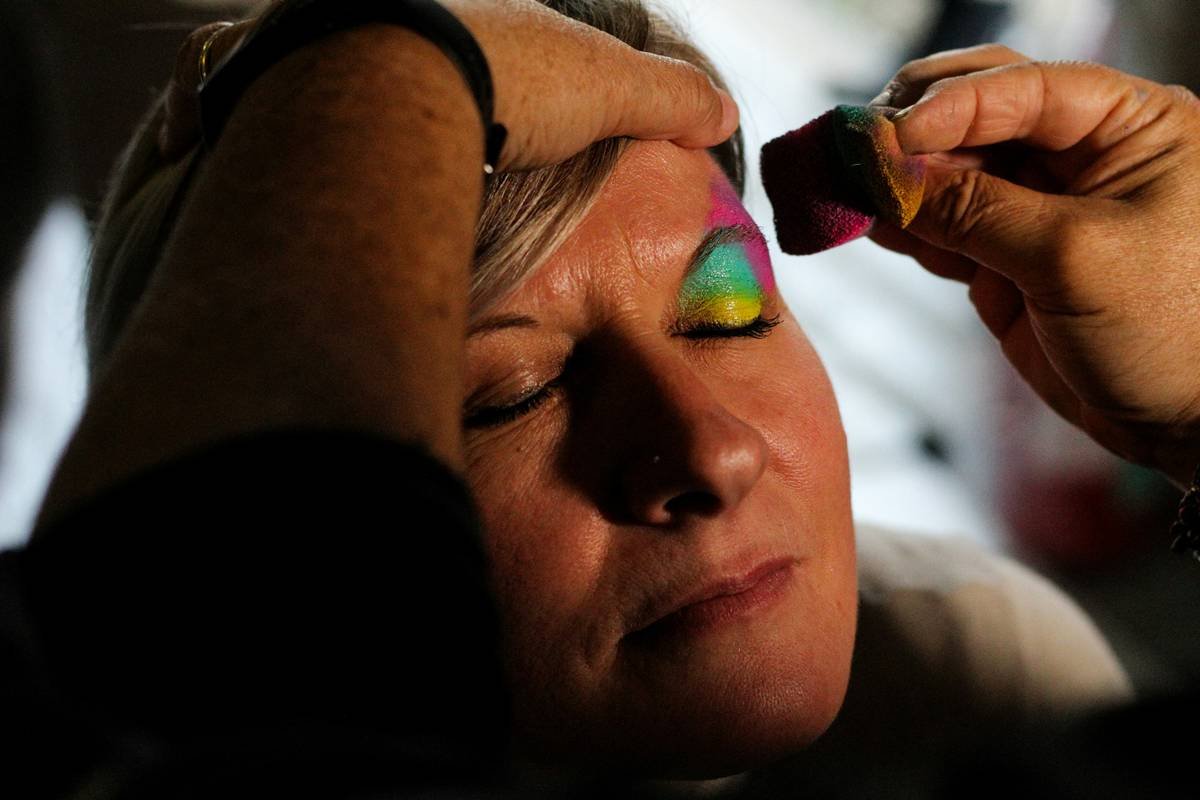
Before and after: Notice the incredible transformation!
FAQs: Common Questions About Molding Prosthetic Makeup
Q: What materials do I need to start molding prosthetic makeup?
A: You’ll need lifecast or pre-made molds, silicone or latex, colorants and pigments, adhesives, and removers.
Q: How long does it take to create a prosthetic piece?
A: It typically takes a few hours to mix, pour, and cure the material, plus additional time for painting and application.
Q: Can I use regular makeup over prosthetics?
A: Yes, but make sure to use cosmetic-grade products to avoid skin irritation and ensure longevity.
Conclusion
In conclusion, molding prosthetic makeup is an art form that requires patience, practice, and a bit of creativity. By following these steps and tips, you’ll be well on your way to creating stunning and realistic prosthetic effects. Remember, the key is to start small, learn from mistakes, and keep practicing. Happy molding!
Like a sculptor’s dream,
Molding faces, not just flesh,
Art in every seam.