Ever tried sculpting prosthetic makeup for a character only to end up looking more Frankenstein’s monster than Hollywood star? Yeah, we’ve been there too. Whether you’re a beginner or a seasoned pro, mastering the art of sculpting prosthetic makeup can feel like scaling Mount Everest in stilettos.
In this post, we’ll walk you through everything you need to know about creating jaw-dropping prosthetics—from avoiding rookie mistakes to advanced techniques that scream “WOW.” You’ll learn how to prep your materials, execute flawless designs, and troubleshoot common disasters (because trust us, they happen). Let’s dive in!
Table of Contents
- Key Takeaways
- Why Sculpting Prosthetic Makeup Matters
- Step-by-Step Guide to Sculpting Prosthetic Makeup
- Top Tips for Flawless Prosthetic Creations
- Real-Life Examples of Stunning Prosthetics
- FAQs About Sculpting Prosthetic Makeup
Key Takeaways
- Preparation is key: Gather all materials before starting your sculpt.
- Layer wisely: Build up textures gradually for realism.
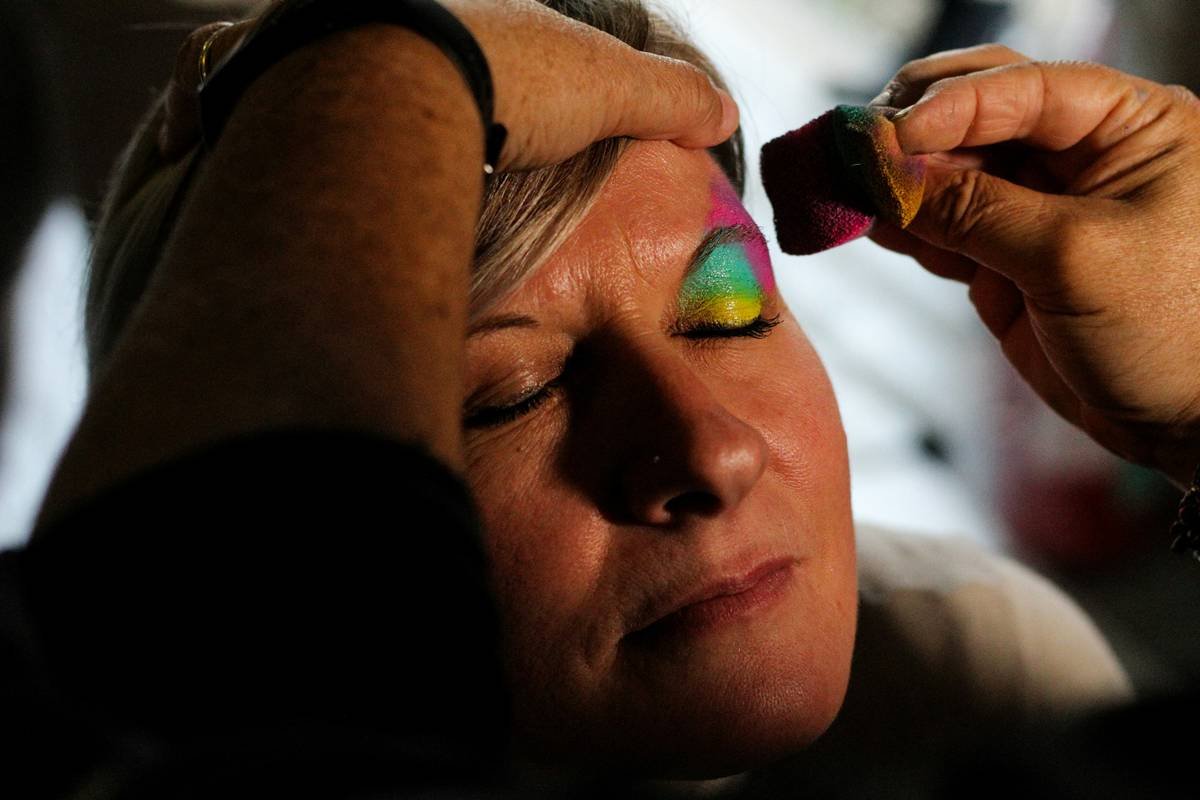
- Pigmentation precision: Use colored gels instead of powders for seamless blending.
- Practice makes perfect: Mistakes are part of the process—embrace them!
Why Sculpting Prosthetic Makeup Matters
Picture this: It’s Halloween night, and you’ve spent hours crafting what should have been an epic werewolf transformation. But something went horribly wrong. Your prosthetics look cracked, uneven, and—let’s face it—a little sad. Sound familiar?
The truth is, sculpting prosthetic makeup isn’t just slapping on some latex and calling it a day. It’s an intricate blend of creativity, technique, and patience. From film sets to cosplay events, these skills bring characters to life in ways no Instagram filter ever could.
Optimist You: “With practice, I can nail this!”
Grumpy You: “Only if my coffee stays within arm’s reach.”
Step-by-Step Guide to Sculpting Prosthetic Makeup
Step 1: Choosing Your Materials
Before diving into the fun stuff, ensure you’ve got quality supplies:
- Water-based clay: Perfect for beginners due to its malleability.
- Silicone molds: For casting realistic textures like scars or scales.
- Acrylic paints: Essential for adding depth and lifelike tones.
Step 2: Sketching Your Design
Grab a pencil and sketch out your idea. Think about placement—if it’s a scar, where does it naturally sit? If it’s horns, how will they align with facial contours?
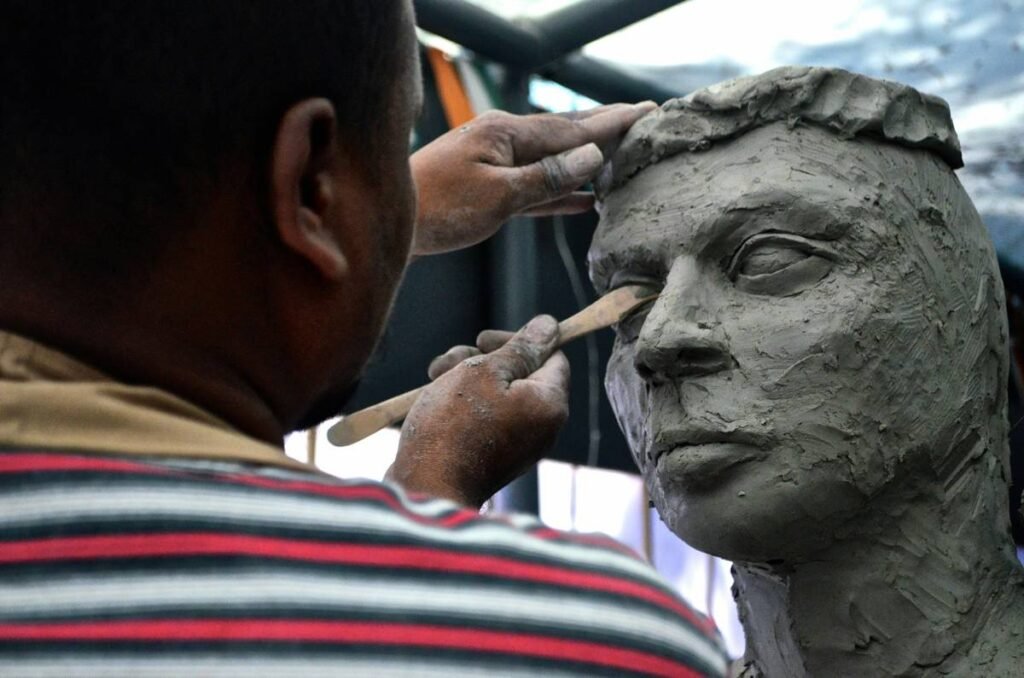
Step 3: Sculpting the Base Shape
Using your water-based clay, start shaping the base structure. Work slowly and layer gradually—it’s easier to add material than remove it later.
Step 4: Adding Fine Details
This is where the magic happens. Tools like dental picks or fine brushes help carve intricate details. Remember: texture equals authenticity.
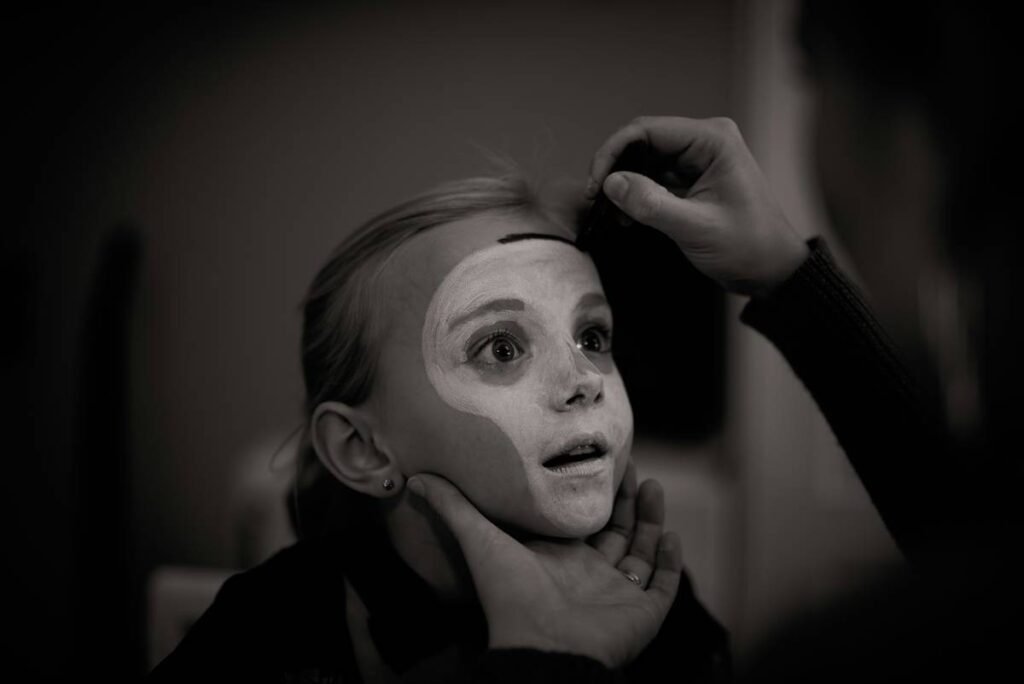
Step 5: Painting and Sealing
Paint your masterpiece using acrylics. Layer colors subtly for dimensionality. Finish off with a sealant spray to lock everything in place.
Top Tips for Flawless Prosthetic Creations
- Use a heat gun sparingly: Too much heat melts silicone faster than ice cream on a summer day.
- Blend edges seamlessly: Feather out prosthetic edges with liquid latex for a natural transition.
- Avoid heavy foundations: They clog pores under prosthetics, leading to irritation and breakouts.
- Test-run beforehand: Don’t debut your design without practicing first; sticky situations literally await.
Real-Life Examples of Stunning Prosthetics
Remember those incredible alien transformations in *Guardians of the Galaxy*? Or the eerie creatures from *The Shape of Water*? Behind every screen-worthy effect lies meticulous prosthetic work by artists who’ve honed their craft over years.
Case Study: One artist transformed herself into a zombie bride using budget-friendly tools found at local craft stores—proof that creativity trumps cost when done right.
FAQs About Sculpting Prosthetic Makeup
Can I use household items as substitutes?
While DIY hacks exist, professional-grade products yield better results. However, corn syrup mixed with food coloring works wonders as fake blood.
How do I prevent skin reactions?
Always patch-test new products and opt for hypoallergenic adhesives. Never skip moisturizing post-application—you deserve TLC after such effort.
What’s one terrible tip everyone follows accidentally?
Don’t rush drying times! Skipping between layers leads to flaky finishes—not exactly the glamorous glow you envisioned.
Conclusion
Congratulations—you now possess the secrets to mastering sculpting prosthetic makeup. While the journey may be messy (literally), perseverance pays off tenfold. So go ahead, unleash your inner artist, and prepare to wow audiences wherever you go.
Now, share a chuckle: Like chugging energy drinks during a deadline, your creative genius needs fuel too. Here’s to surviving late-night makeup marathons—one brushstroke at a time.
And because nostalgia fuels our souls—remember Tamagotchis? Yup, treat your skills like digital pets; nurture them daily, and watch them thrive. 🌟