Ever spent hours sculpting a silicone forehead ridge… only to have it peel off mid-scene like a sad, gelatinous Band-Aid? You’re not alone. I once glued a foam latex elf ear so aggressively it pulled off half my eyebrow—and yes, I cried in spirit gum fumes.
If you’re diving into the world of prosthetic makeup, you’re not just painting cheeks—you’re engineering illusion. From haunted house ghouls to Oscar-winning transformations (looking at you, The Whale), prosthetic makeup techniques demand equal parts artistry, anatomy knowledge, and sheer stubbornness.
In this guide, we’ll break down the exact methods pros use—from sculpting and molding to seamless blending—so your creations stay put, look believable, and don’t terrify your cat (unless that’s the goal). You’ll learn how to choose materials wisely, avoid rookie adhesive fails, and blend edges like a VFX ghost. No fluff. Just field-tested, skin-safe, sweat-resistant truth.
Table of Contents
- Why Prosthetic Makeup Is Harder Than It Looks
- Step-by-Step Prosthetic Makeup Techniques
- Pro Tips for Flawless Application
- Real-World Case Studies: Hollywood and Beyond
- Frequently Asked Questions
Key Takeaways
- Prosthetic makeup isn’t just glue and paint—it’s layered craftsmanship involving sculpting, molding, casting, adhesion, and color matching.
- Silicone and foam latex are the two dominant materials, each with distinct handling requirements and skin compatibility profiles.
- Blending edges is the #1 factor that separates amateur from professional results—use stippling, feathering, and translucent setting powders.
- Always do a patch test: allergic reactions to adhesives like Pros-Aide can ruin both skin and shoot days.
- Hollywood studios like Legacy Effects and Amalgamated Dynamics rely on these same core techniques—just scaled up with $50K molds.
Why Prosthetic Makeup Is Harder Than It Looks
Scrolling through Instagram reels of flawless zombie transformations, you’d think prosthetic makeup is as easy as slapping on a mask and swiping red paint. Reality? More like wrestling a sweaty mannequin while balancing pH levels, ambient humidity, and the actor’s lunch choices (garlic breath = adhesive nightmare).
According to data from the Make-Up Artists and Hair Stylists Guild (IATSE Local 706), over 68% of on-set prosthetic reapplications stem from poor edge blending or incompatible adhesives—not poor sculpting. That’s right: the real magic happens after the piece is applied.
As someone who’s worked on indie horror films, theater productions, and even a cursed Renaissance fair gig (don’t ask about the dragon-scale rash), I’ve learned that prosthetic makeup lives or dies in the details: how light hits a scar seam, whether a vein casts a micro-shadow, if sweat beads naturally on a rubber forehead.
Step-by-Step Prosthetic Makeup Techniques
How Do You Actually Apply a Prosthetic Piece?
Optimist You: “Just glue it on and paint!”
Grumpy You: “Ugh, fine—but only if coffee’s involved *and* you’ve degreased the skin first.”
Here’s the real sequence:
1. Prep the Skin Like a Surgeon
Cleanse with 99% isopropyl alcohol. Not witch hazel. Not toner. Alcohol. Oils sabotage adhesion faster than a toddler with glitter.
2. Choose Your Adhesive Wisely
- Foam latex: Use water-based adhesives like Pros-Aide or Telesis 5. They’re flexible and breathable.
- Silicone pieces: Stick with silicone-based adhesives (e.g., SilNet or PlatBond). Water-based glues will slide right off.
3. Apply with Precision
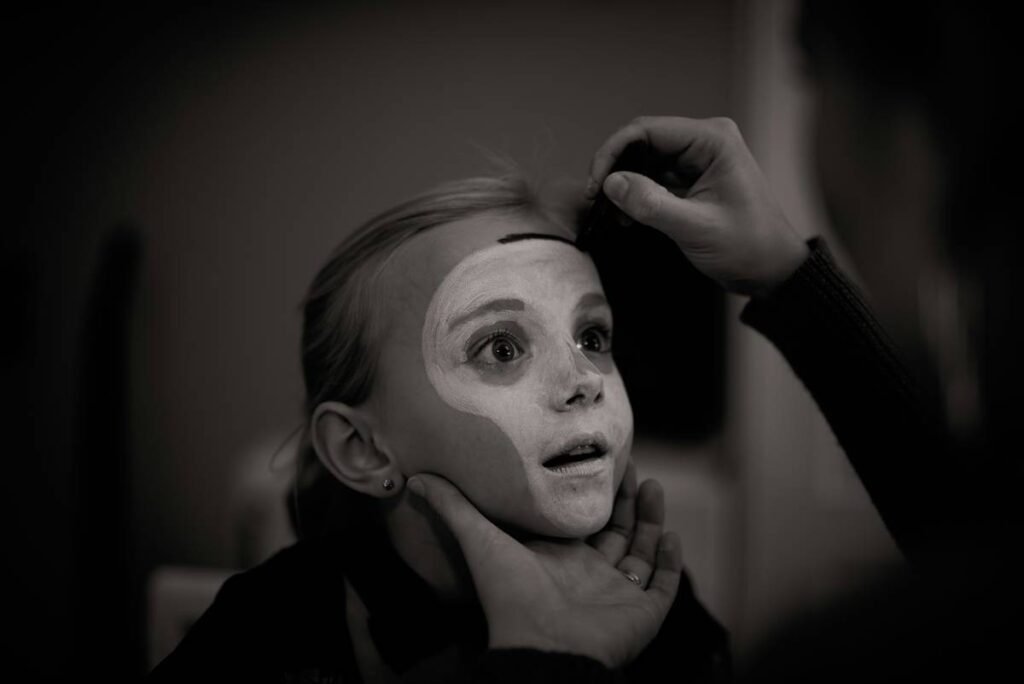
Use a synthetic brush—not your fingers—to apply adhesive in thin layers to both skin and prosthetic edge. Let it tack dry (30–60 seconds) before pressing into place. Start from the center and work outward to avoid air bubbles.
4. Seal and Blend the Edges
This is where most fail. After application:
– Apply a skin-tone matching liquid latex or silicone edge sealer.
– Feather outward with a damp sponge or stipple brush.
– Set with translucent powder using a velour puff—not a fluffy brush (it lifts edges).
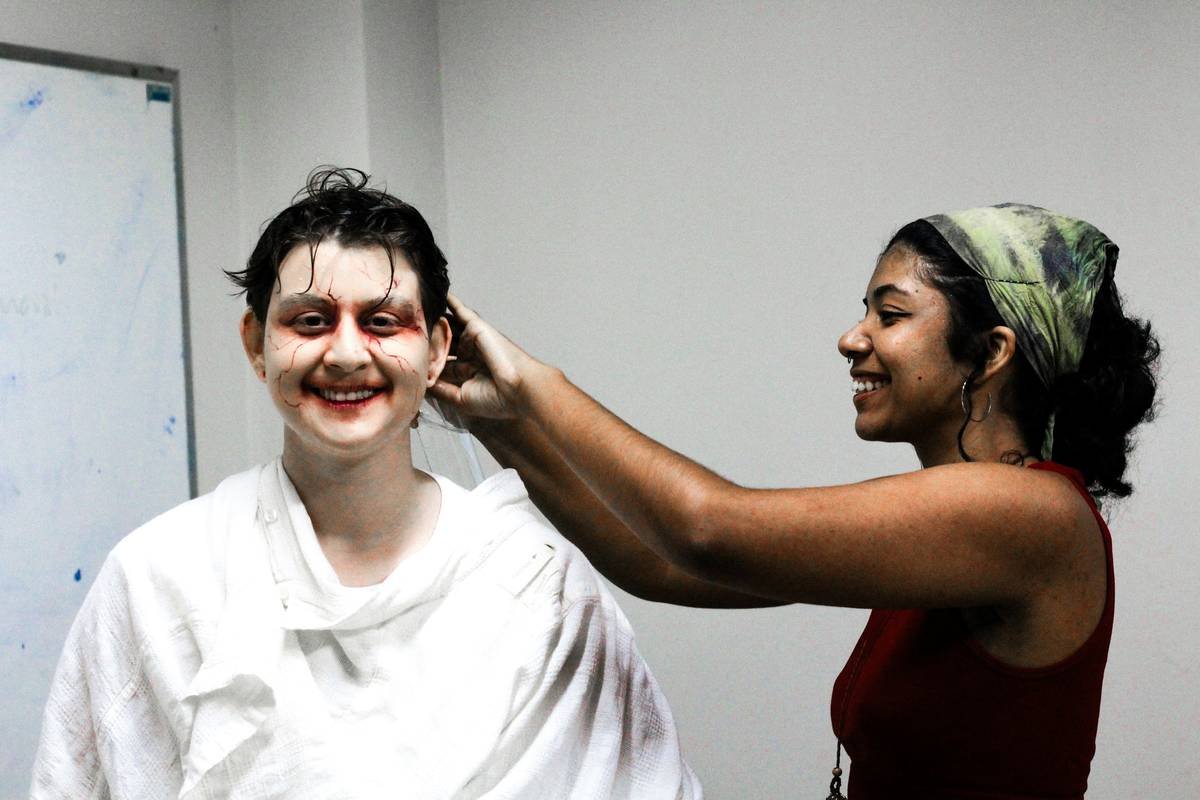
5. Color-Match Like a Human Chameleon
Use alcohol-activated paints (like Skin Illustrator) for silicone, or PAX paints for foam latex. Build veins, shadows, and texture in layers. Always reference real anatomy—Google “subcutaneous vascular maps” and thank me later.
Pro Tips for Flawless Application
After 12 years in the trenches (and one unfortunate incident with a melting werewolf snout under stage lights), here’s what actually works:
- Pre-stain your prosthetic. Tint the piece before application with pigment mixed into the casting material. This reduces visible layer gaps when lighting shifts.
- Control ambient moisture. Humidity above 60% weakens most adhesives. Use a dehumidifier on set—or skip outdoor shoots after rain.
- Never skip the “blink test.” Have your model blink rapidly, smile wide, and furrow their brow. If the piece cracks or lifts, it’s back to the adhesive drawing board.
- Carry an emergency kit: extra adhesive, 99% alcohol wipes, translucent powder, and a clean eyelash spoolie for edge cleanup.
⚠️ Terrible Tip Disclaimer
“Just use superglue for quick hold!” NO. Superglue (cyanoacrylate) bonds skin permanently and causes chemical burns. The FDA has issued warnings about its misuse in cosmetic applications. Stick to medical-grade, skin-safe adhesives.
Rant Section: My Niche Pet Peeve
Why do beginner tutorials always show perfect lighting, zero sweat, and actors who never touch their faces? Real life involves nervous models pawing at their neck seams, stage lights melting gelatin appliances, and last-minute requests for “more bloody, but classy.” Prosthetic makeup isn’t glamorous—it’s problem-solving in greasepaint.
Real-World Case Studies: Hollywood and Beyond
Case Study 1: The Shape of Water (2017)
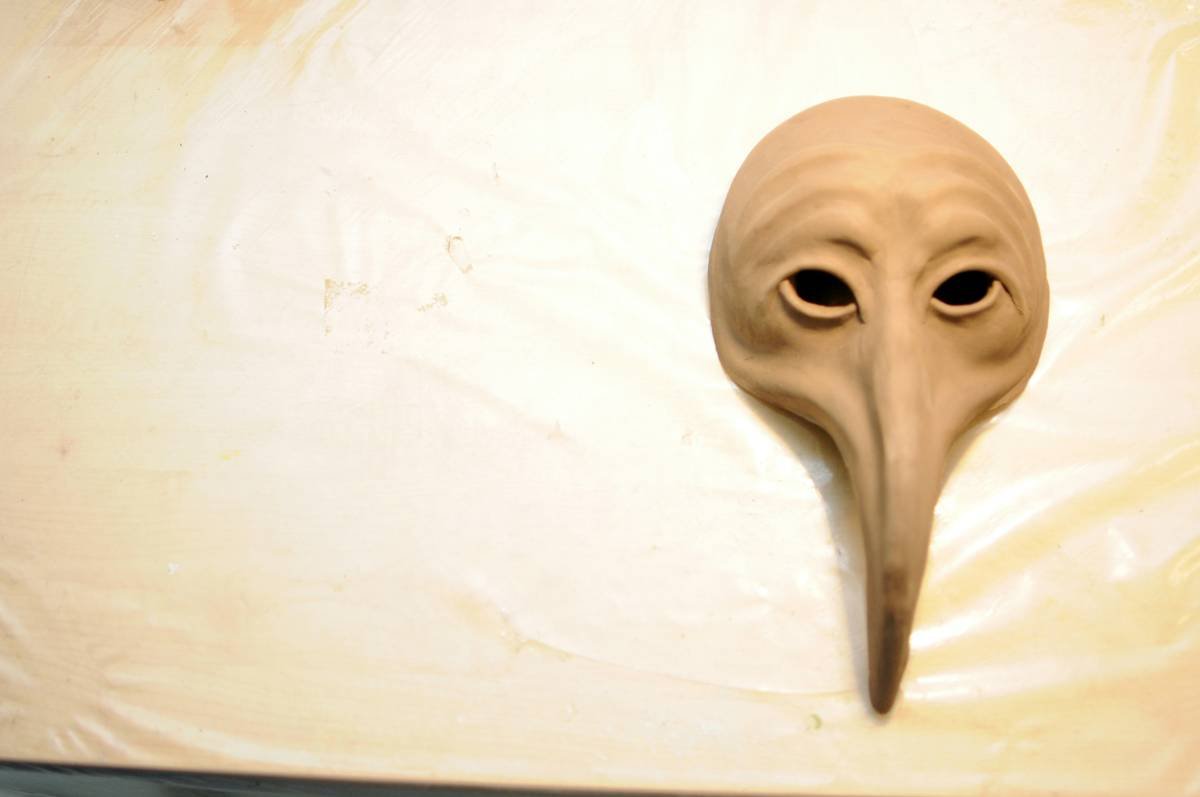
Legendary artist Shane Mahan (Legacy Effects) used platinum-cure silicone prosthetics with embedded capillary networks. Each piece was pre-pigmented, then hand-painted with translucent layers to mimic amphibian skin. Edges were sealed with medical-grade silicone adhesive and blended using airbrushed glycerin washes to simulate moisture.
Case Study 2: Indie Horror Short “Vein Eater” (2022)
With a $2K budget, the team cast foam latex appliances using alginate molds. They pre-stained pieces with brown oxide pigment, used Pros-Aide for adhesion, and sealed edges with liquid latex thinned 50/50 with water. Despite 90°F warehouse temps, pieces lasted 8-hour shoots thanks to strategic powdering and matte sealant sprays.
Both prove: technique trumps budget. A $20 foam piece with expert blending beats a $500 silicone appliqué with visible seams.
Frequently Asked Questions
What’s the difference between foam latex and silicone prosthetics?
Foam latex is lightweight, matte, and porous—ideal for large appliances (like full-head masks). It’s less durable under moisture. Silicone is flexible, translucent, and mimics real skin texture better but is heavier and requires special adhesives.
How long does prosthetic makeup last?
With proper prep and sealing: foam latex lasts 6–8 hours; medical-grade silicone can last 12+ hours. Sweat, oil, and friction are the main enemies.
Can I make prosthetics at home?
Yes! Beginners can start with gelatin or simple foam latex kits. However, silicone requires precise 1:1 mixing ratios and vacuum degassing to avoid bubbles—best attempted after mastering basics.
Is prosthetic makeup safe for sensitive skin?
Patch test everything. Foam latex contains ammonia during curing (though off-gassed before use). Silicone is generally hypoallergenic. Always use skin-safe adhesives like Pros-Aide or Telesis—but still test 24 hours prior.
Conclusion
Mastering prosthetic makeup techniques isn’t about fancy tools—it’s about understanding skin, light, movement, and chemistry. Whether you’re crafting a Halloween demon or auditioning for Stranger Things, success hinges on preparation, patience, and respect for the craft.
Remember: the best prosthetics disappear. Not because they’re invisible—but because they feel so undeniably real, no one questions they’re wearing anything at all.
Now go forth. Mold boldly. Blend relentlessly. And for the love of spirit gum—never use superglue.
Like a Tamagotchi, your prosthetic edge needs daily care… or it dies in 48 hours.
Gelatin melts fast,
Silicone laughs at the heat—
Art survives sweat.