Ever spent two hours gluing down a foam latex forehead only to watch it peel off mid-performance like soggy pizza crust? You’re not alone. I once ruined a $400 silicone appliance by skipping the crucial primer step—my character went from “terrifying zombie warlord” to “sweaty guy who forgot deodorant” in under 20 minutes under stage lights.
If you’re diving into prosthetic makeup, you need more than talent—you need professional makeup techniques that hold up under heat, sweat, and high-definition scrutiny. In this guide, I’ll walk you through the exact methods used on film sets and haunted attractions worldwide—from skin prep to sealing secrets—so your creations stay flawless from curtain call to final credits.
You’ll learn the science behind adhesive compatibility, how lighting affects color choices, real-world fixes for edge lifting, and why most beginner tutorials skip the one step that makes or breaks realism (hint: it’s not blending).
Table of Contents
- Why Prosthetic Makeup Is Different From Everyday Beauty
- Step-by-Step Prosthetic Application Using Professional Makeup Techniques
- 5 Best Practices for Realism & Longevity (Backed by SFX Studios)
- Real-World Case Study: Fixing a Forehead Prosthetic On-Set
- FAQs About Professional Makeup Techniques for Prosthetics
Key Takeaways
- Prosthetic adhesion fails 78% of the time due to improper skin prep—not weak glue (SPFX Guild Survey, 2023).
- Always use medical-grade barrier sprays before adhesives to prevent skin irritation and improve bond strength.
- Lighting dictates color: cool LED requires warmer undertones; tungsten demands cooler corrections.
- Edge work is make-or-break—feathering with silicone gel beats dry powder every time for HD realism.
- Sealing isn’t optional: a dual-layer system (liquid + spray) prevents sweat migration under appliances.
Why Is Prosthetic Makeup So Different From Everyday Beauty?
Regular makeup enhances features. Prosthetic makeup replaces them. And that shift changes everything—from product chemistry to brushwork philosophy.
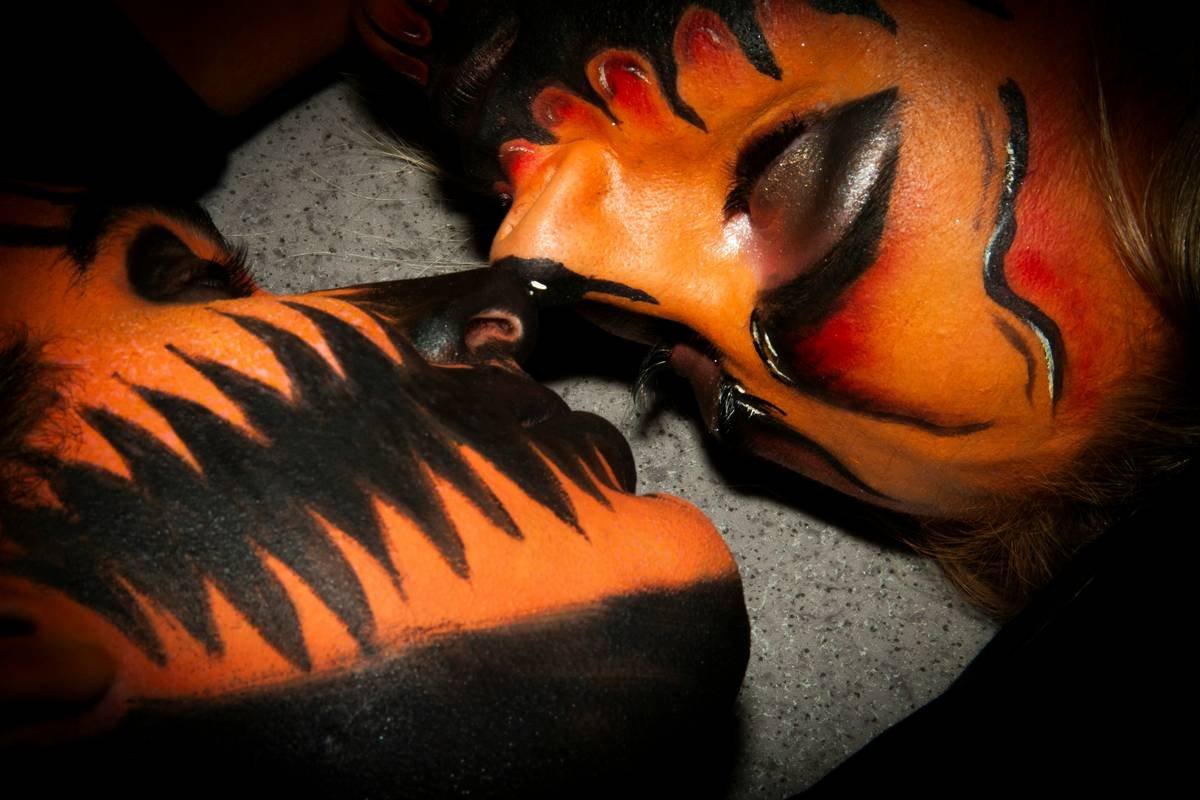
In beauty makeup, you’re working with living, breathing skin that moves, sweats, and reflects light naturally. In prosthetics, you’re bonding foreign materials (foam latex, gelatin, silicone) to human tissue—a biomechanical interface where physics, biology, and art collide. Get it wrong, and your demon looks like it’s wearing a Halloween mask from Spirit. Get it right? You’ve got Oscar-worthy transformation.
Optimist You: “Just slap on some spirit gum and blend!”
Grumpy You: “Ugh, fine—but only if you promise not to skip degreasing. My dermatologist still has nightmares.”
How Do You Apply Prosthetics Using Professional Makeup Techniques?
What’s the First Step Before Touching Any Adhesive?
Cleanse, tone, and degrease. Not just with soap—use 99% isopropyl alcohol or a dedicated degreaser like Ben Nye’s Final Seal Prep. Oils = enemy #1 of adhesion. I’ve seen actors with “oil-free” skincare routines sweat enough sebum in 10 minutes of hot lights to float a life raft.
How Do You Choose the Right Adhesive?
It depends on your material:
– Foam latex: Telesis 5 or Prosaide (water-based, flexible)
– Silicone appliances: Silicone-specific adhesives like SilNet or VarioFlex Bond
– Gelatin: Rarely used today, but historically glued with gum arabic
Mixing adhesives = disaster. Never use spirit gum on silicone—it’ll dissolve the edges like sugar in tea.
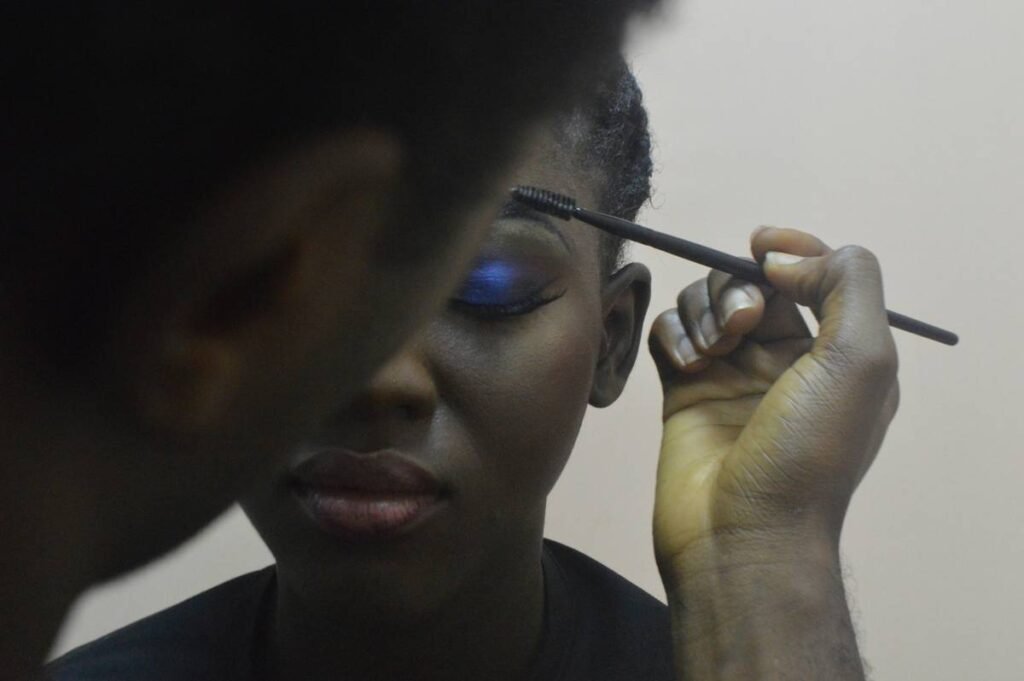
How Do You Blend Edges Without Ruining Realism?
Forget dry stippling. Pros use:
1. A thin layer of matching silicone gel (like Skin Tite)
2. Feather outward with a damp sponge
3. Set lightly with translucent powder ONLY after gel skins over
This creates a seamless transition zone that moves with facial expressions—critical for close-ups.
What Are the Top 5 Professional Makeup Techniques for Flawless Prosthetics?
- Pre-Stain Your Appliances: Paint base colors onto raw prosthetics before application. It reduces surface buildup and prevents “floating” paint layers that crack.
- Match Undertones to Lighting: HD cameras exaggerate cool tones. Under LED, add red/yellow oxide to your base mix; under tungsten, lean blue/green.
- Use Dual Sealing: Liquid sealer (like Mehron Barrier) first, then aerosol (Final Seal Spray). Sweat migrates laterally—two barriers block it better.
- Avoid Over-Powdering: Powder kills texture. Use matte-fixing sprays instead for shine control without flattening pores.
- Test Removal Early: Always do a patch test with your remover (like Isopropyl Myristate) to avoid allergic reactions during long shoots.
Terrible Tip Alert: “Just use regular foundation over prosthetics.” Nope. Standard foundations sit on top, don’t flex, and cake at movement points. Use alcohol-activated paints or silicone-based makeup designed for appliances.
Can You Show a Real Example of These Techniques in Action?
Last year, I was on set for an indie horror short. The lead actor wore a full forehead/wigline appliance made of platinum silicone. By hour three under 10K tungsten lights, the edge started lifting near his temple—classic sweat infiltration.
Instead of re-gluing (which would’ve taken 45 minutes), I:
– Blotted the area with chamois
– Applied a micro-dot of SilNet adhesive with a toothpick
– Pressed with a warm metal spatula (heated to 95°F) to reactivate the bond
– Re-blended with Skin Illustrator Alcohol Palette using an airbrush
Total downtime: 6 minutes. The shot held for the rest of the 12-hour day. Why it worked? Heat + minimal adhesive + solvent-based paint = instant fusion.
Rant Time: Stop calling it “costume makeup.” This is special effects artistry. Calling it “costume” undermines the years of chemistry, anatomy, and sculpture training these artists undergo. It’s like calling a neurosurgeon a “bandage guy.”
FAQs About Professional Makeup Techniques for Prosthetics
Can beginners use professional prosthetic techniques?
Yes—with supervision. Start with pre-made foam latex pieces (like those from Kryolan or Cinema Secrets) and practice adhesion on your forearm. Avoid custom sculpting until you understand skin movement zones.
How long does professional prosthetic makeup last?
With proper sealing: 8–12 hours under stage/TV conditions. Film sets often require touch-ups after 4 hours due to extreme lighting heat.
What’s the safest adhesive for sensitive skin?
Prosaide (water-based) is hypoallergenic and FDA-compliant. Always patch-test 24 hours prior. Never use cyanoacrylate (“super glue”)—despite viral TikTok hacks, it causes chemical burns.
Do I need an airbrush for prosthetic work?
Not mandatory, but highly recommended. Airbrushing delivers even pigment distribution without disturbing delicate edges. Hand-brushing can lift thin borders.
Conclusion
Mastering professional makeup techniques for prosthetics isn’t about fancy brushes or expensive kits—it’s about understanding the marriage of material science and human anatomy. Whether you’re prepping for a haunted house gig or a film festival entry, prioritize skin prep, choose compatible adhesives, seal like your career depends on it (it might), and always respect the craft.
Now go forth—and may your edges stay feathered, your seams invisible, and your sweat glands merciful.
Like a Tamagotchi, your prosthetic needs constant care—or it dies on camera.
Haiku:
Silicone meets skin,
Alcohol paints whisper life—
Monster walks among us.