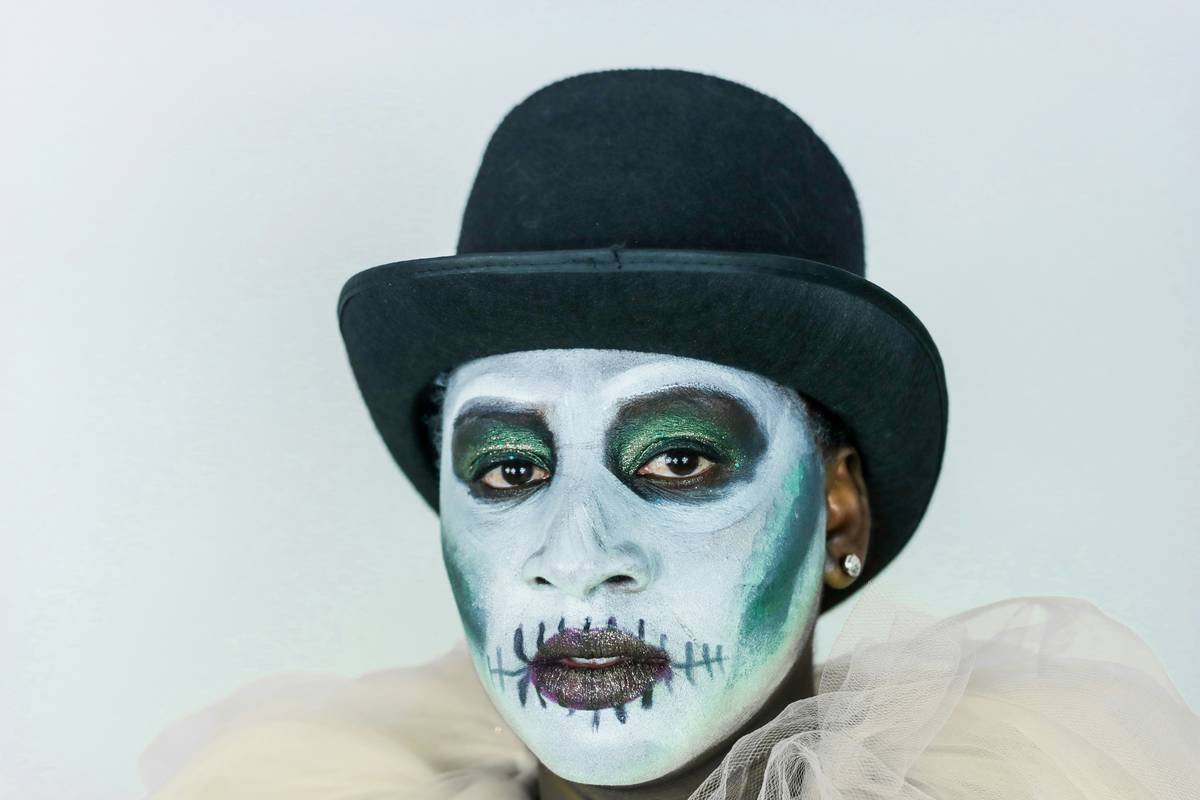
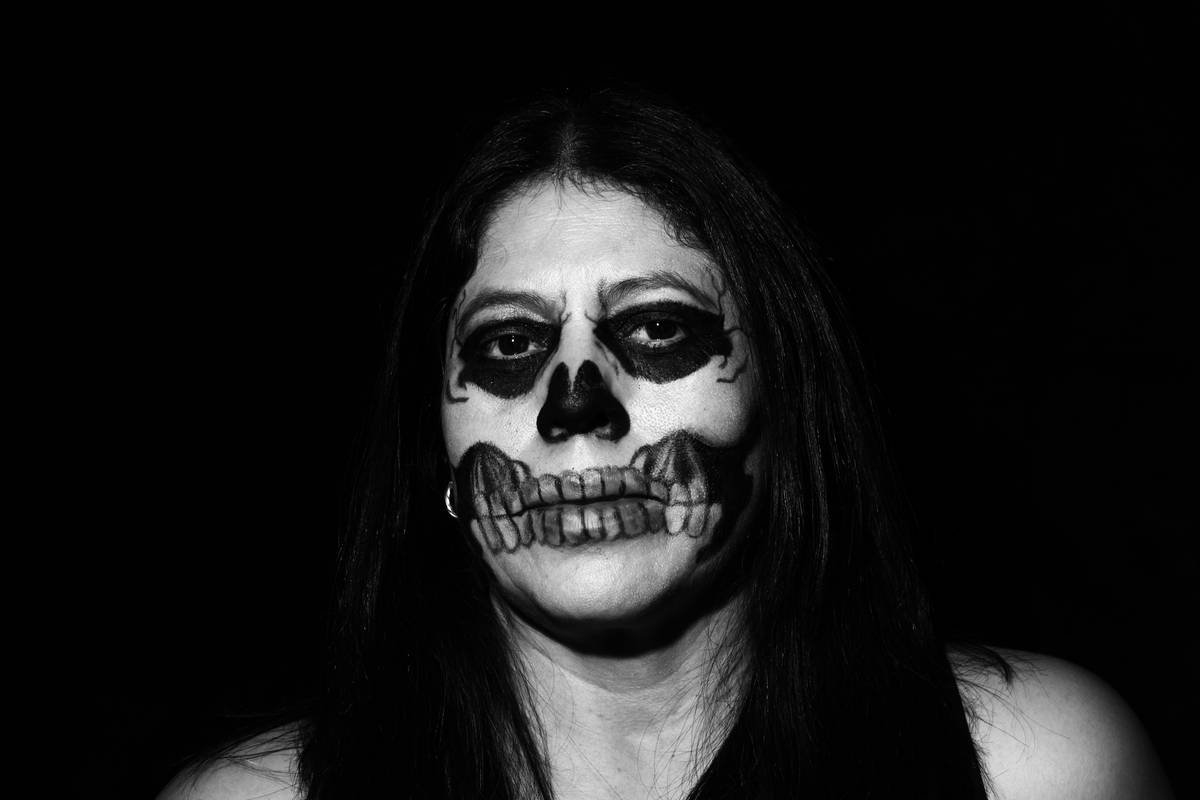
Most skeleton prosthetic effects look like Halloween store rejects—flat, lifeless, and painfully fake. You spend hours sculpting, molding, painting… only to see it crumble under stage lights or flatten on camera. The frustration is real. But what if the problem isn’t your skill—it’s your process? The secret lies not in more layers, but in smarter anatomy.
Why 90% of Skeleton Prosthetic Effects Fail
They ignore biomechanics. Seriously. Most artists treat bone as a static prop—just white ridges over skin. But real skeletons move. Tendons pull. Ligaments stretch. When your jaw hinges without tension lines, or your ribcage lacks intercostal definition, the illusion dies instantly. And lighting? Harsh overheads expose every seam you thought you’d buried. Think about it: film and stage don’t forgive shortcuts—they magnify them.
How to Build Believable Skeleton Prosthetic Effects (Step by Step)
Forget “paint it white and call it bone.” Authenticity comes from structure first, pigment second.
Reference Real Anatomy—Not Other Costumes
Grab Gray’s Anatomy—not Google Images. Study how the zygomatic arch angles into the temporal bone. Notice the subtle curvature of the ulna versus the radius. These micro-details sell the effect more than any airbrushing trick ever could.
Choose Your Material Based on Movement
If the actor needs full jaw mobility, foam latex breathes better than silicone. For static close-ups? Go platinum-cure silicone—it captures pore-level texture. Your material dictates durability, flexibility, and how light bounces off the surface.
Layer Color Like a Forensic Artist
Bone isn’t pure white. It’s ivory with cool gray undertones, yellowed at stress points, slightly translucent at thin edges. Dry-brush warm umbers into marrow cavities. Glaze thin veils of Payne’s Gray over high points. Then—here’s the kicker—add ambient shadow where skin would naturally drape.
| Method | Realism Score (1–10) | Cost per Application | Best For |
|---|---|---|---|
| Latex Sheets + Paint | 4 | $15–$30 | Low-budget theater, quick fixes |
| Foam Latex Pre-Made Appliances | 7 | $80–$150 | TV episodics, moderate motion |
| Custom Silicone Sculpts | 9.5 | $300–$800+ | Film close-ups, high-detail horror |
| Digital Projection Mapping + Minimal Prosthetics | 8 | $500+ (tech-dependent) | Live performances, dynamic transformations |

The Industry Secret: Bone Moves Under Skin—So Should Your Prosthetic
Here’s what top-tier SFX houses won’t tell you: they embed micro-gussets into jaw and knuckle pieces. Tiny accordion folds in the mold allow for natural expansion during movement—without tearing the edge blend. I saw a veteran FX artist once glue fishing line along a mandible edge, anchored just beneath the ear. When the actor opened their mouth? The skin stretched like real flesh. No creasing. No lifting. Pure illusion. The math is simple: if it doesn’t move like biology, it won’t read like biology—even under soft lighting.
Frequently Asked Questions
How long do skeleton prosthetic effects last during a performance?
With proper adhesive (like Telesis 5) and sealant, custom silicone pieces can stay intact 8–12 hours. Latex degrades faster—especially under sweat or hot lights.
Can I make skeleton prosthetic effects at home?
Yes—but manage expectations. Start with pre-made foam latex bones, modify with gelatin or liquid latex for blending, and use acrylic paints thinned with alcohol for weathering. Don’t skip the anatomy research.
What’s the biggest mistake beginners make with skeleton prosthetic effects?
Over-painting. Bone isn’t chalk-white. It’s nuanced. Skip the highlighter-white base. Start mid-tone, then build depth—shadows first, highlights last.