Most “zombie” looks fall flat—literally. Flat textures, symmetrical wounds, predictable pallor. You’ve seen it a hundred times at Halloween parties, indie films, and even mid-tier haunted houses. The problem isn’t effort—it’s outdated technique. And that kills immersion faster than a headshot. The fix? Advanced makeup for zombies built on prosthetic layering, anatomical decay logic, and controlled chaos.
Why Traditional Zombie Makeup Fails
Slathering green-gray foundation and drawing jagged lines with eyeliner won’t cut it. Real decomposition doesn’t follow contour maps from beauty tutorials.
But here’s the reality: skin doesn’t just bruise—it sloughs. Tissue collapses asymmetrically. Fluids pool. Most DIY kits ignore biomechanics entirely. They treat decay like a surface stain, not a systemic collapse.
And when actors sweat under hot lights? Latex peels. Scarring cracks. The illusion evaporates in real time.
Advanced Makeup for Zombies: A Layered Prosthetic Approach
Forget one-step ghouls. True undead realism demands staged construction. Build death like a forensic pathologist—not a cosmetologist.
Selecting Base Prosthetics: Less Is More
Purchase pre-made forehead or cheek appliances only if they match your subject’s bone structure. Custom-sculpted silicone yields 10x better adhesion—but costs more. Pro tip: thin edges (<1mm) blend seamlessly without excessive powdering.
Color Logic Based on Time Since “Death”
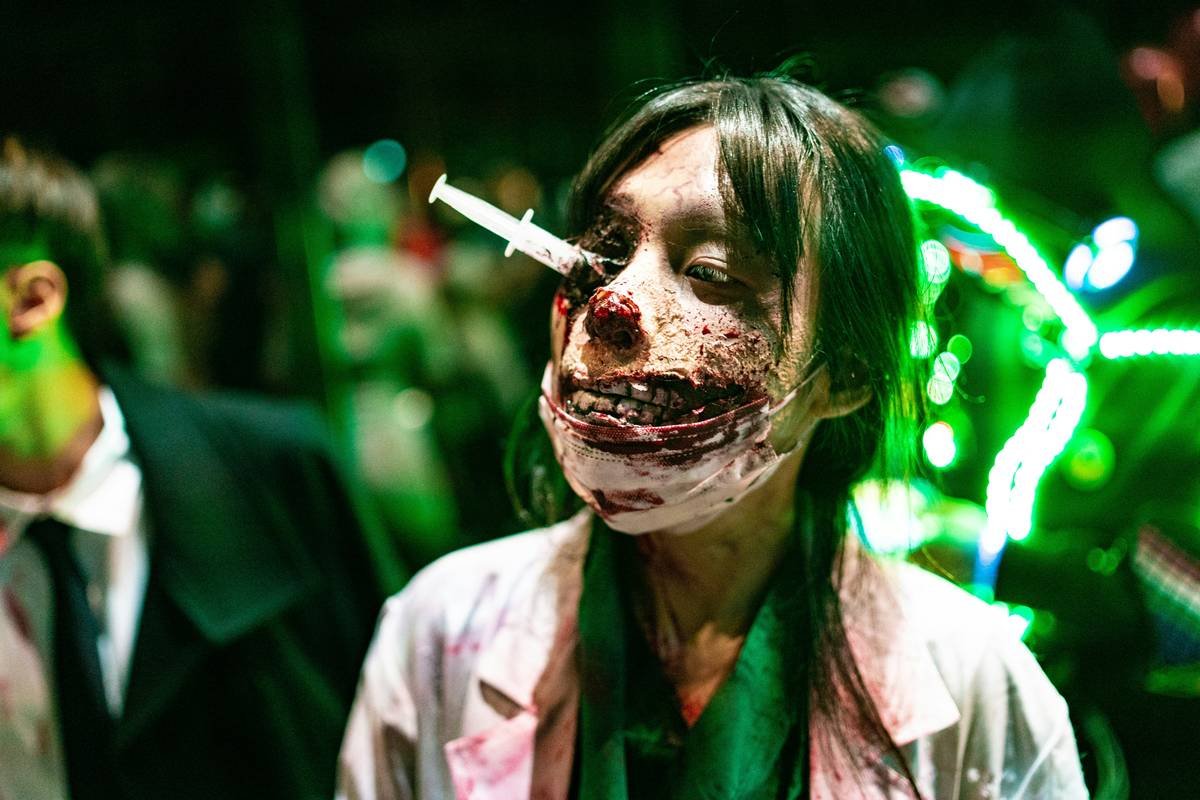
Fresh zombies (0–12 hrs post-mortem) show cyanotic blues near extremities—not uniform gray. Use alcohol-activated paints to mimic lividity. Older ghouls? Add yellow-green undertones where skin separates from fascia. Never paint randomly. Decay follows gravity and vascular pathways.
Texture Mapping: Simulating Tissue Loss
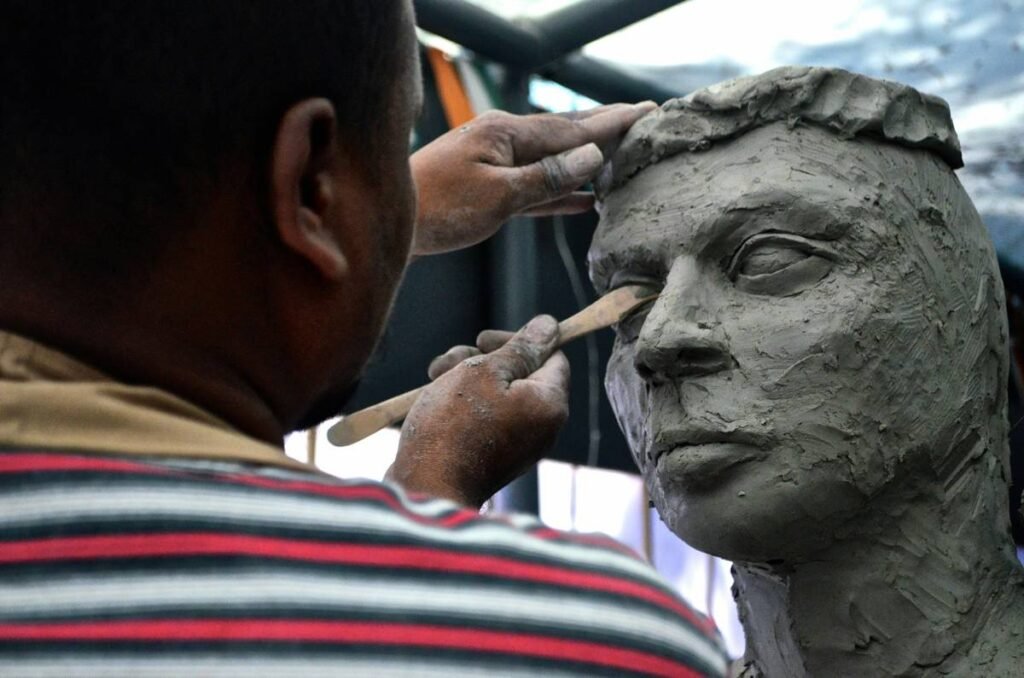
Real necrosis isn’t smooth. It’s pitted, fibrous, sometimes weeping. Press crumpled foil into uncured gelatin before applying—it leaves organic micro-craters. Then stipple translucent wax over dried edges to simulate desiccated dermis pulling away from muscle.
| Technique | Materials Needed | Drying Time | Realism Score (1–10) | Budget Tier |
|---|---|---|---|---|
| Latex Scarring | Gel latex, cotton, cream makeup | 20–30 min per layer | 5 | $ |
| 3D Gelatin Wounds | Unflavored gelatin, glycerin, tissue paper | 10–15 min | 7 | $$ |
| Platinum Silicone Appliances | Pigmented silicone, medical adhesive, alcohol paints | Ready-to-wear | 9.5 | $$$ |
| Hybrid Layering (Pro Method) | Silicone base + gelatin topography + wax detailing | 45–60 min total | 9.8 | $$$ |
The Industry Secret: Controlled Imperfection
Hollywood SFX artists don’t aim for “perfect decay.” They engineer biased asymmetry.
Here’s how: choose one dominant trauma zone—say, a collapsed left zygomatic arch. Now, let everything else degrade *away* from that point. Right-side skin stays relatively intact. Left eyelid sags. Jawline erodes unevenly. This creates subconscious narrative: “Something hit them hard on the left.”
Audiences fill in backstory without dialogue. That’s advanced storytelling through advanced makeup for zombies. Most amateurs miss this because they’re obsessed with gore volume, not directional pathology.
Frequently Asked Questions
How long does professional zombie makeup last?
With medical-grade adhesives and setting sprays, silicone-based applications survive 8–12 hours—even under stage heat. Latex? Maybe 3 hours before edges lift.
Can I use household items for zombie effects?
Yes—but strategically. Toilet paper + glue = decent scabbing. But avoid Vaseline; it breaks down prosthetic bonds. Use cocoa powder + corn syrup for congealed blood that won’t smear.
Do I need mold-making skills?
Not for small jobs. Buy pre-sculpted forehead or neck pieces. Reserve molding for full-face transformations or custom bite wounds. Start shallow—depth comes from paint, not just 3D bulk.