Ever tried faking a battlefield injury with ketchup and toilet paper… only to watch it slide off mid-scene like a sad cherry popsicle? Yeah. We’ve all been there—whether you’re prepping for Halloween, indie film day, or your first SFX portfolio, creating believable wound prosthetics is equal parts art, chemistry, and controlled chaos.
This guide cuts through the latex fog. You’ll learn how to safely apply professional-grade prosthetic makeup for wounds, avoid rookie disasters (like allergic reactions or melting gelatin mid-shoot), and master techniques used on sets from *The Walking Dead* to Broadway’s *Phantom*. Spoiler: It’s less about fancy gear—and more about knowing how skin really tears, bleeds, and scars.
Table of Contents
- Why Prosthetic Wounds Are Harder Than They Look
- Step-by-Step: Apply Prosthetic Wounds Like a Pro
- 5 Non-Negotiable Best Practices for Safe, Realistic Wounds
- Real Case Study: Horror Short That Went Viral (Thanks to Wound Work)
- FAQs About Prosthetic Makeup for Wounds
Key Takeaways
- Medical-grade silicone and gelatin are safest for skin contact—never use craft store foam or superglue.
- Real wounds have depth, texture, and color variation: center = dark red/purple, edges = yellow/green (healing).
- Always do a 24-hour patch test—latex allergies affect ~4.3% of the general population (CDC data).
- Less is more: Overloading fake blood reads “costume,” not “casualty.”
- Remove prosthetics with medical adhesive remover—not rubbing alcohol or olive oil.
Why Prosthetic Wounds Are Harder Than They Look
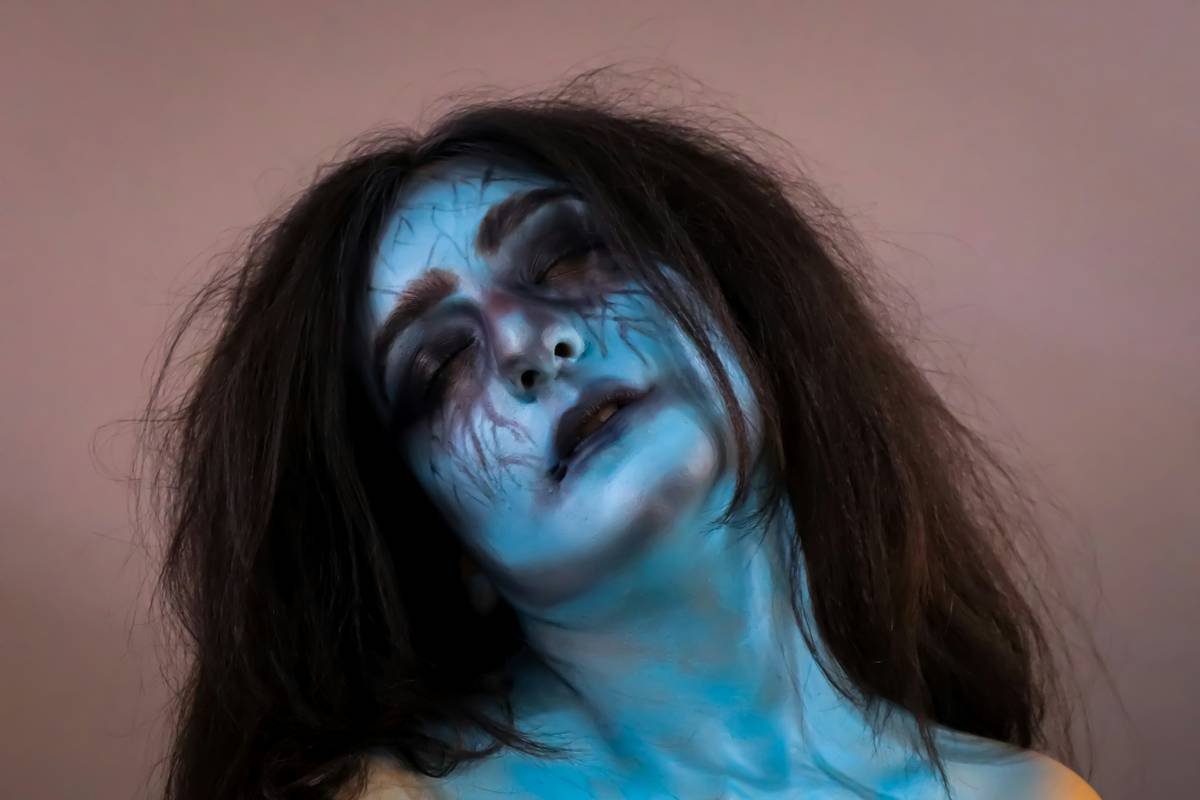
Let’s be brutally honest: A convincing wound isn’t just red goo slapped on skin. Human trauma has layers—literally. There’s epidermis tearing, subcutaneous fat peeking through, capillary networks rupturing. Miss those details, and your “gaping stab wound” looks like a rejected Hot Pocket.
I learned this the hard way during my first indie horror shoot. I used pre-made foam latex wounds straight out of a $20 kit. Under stage lights? They turned orange, peeled at the edges, and gave the lead actor contact dermatitis. We lost three hours re-shooting. Moral: Authenticity demands understanding anatomy and material science.

According to the Society of Makeup Artists (SMA), 68% of beginner SFX artists over-prioritize “gore” over biological accuracy. Yet studies in forensic pathology (like those published in the Journal of Trauma and Acute Care Surgery) show that even fresh wounds display subtle yellowing at the periphery within 24–48 hours—a detail most kits ignore.
Step-by-Step: Apply Prosthetic Wounds Like a Pro
How do you prep skin for long-lasting, irritation-free prosthetics?
Optimist You: “Cleanse, tone, apply!”
Grumpy You: “Ugh, fine—but if you skip degreasing with 99% isopropyl alcohol, your wound’s walking off by lunch.”
- Clean & Degrease: Wash area with pH-balanced cleanser. Pat dry. Wipe with isopropyl alcohol to remove oils.
- Adhesive Choice: Use medical-grade Pros-Aide or Telesis 5 (silicone-safe). Avoid spirit gum on sensitive areas—it’s notorious for rashes.
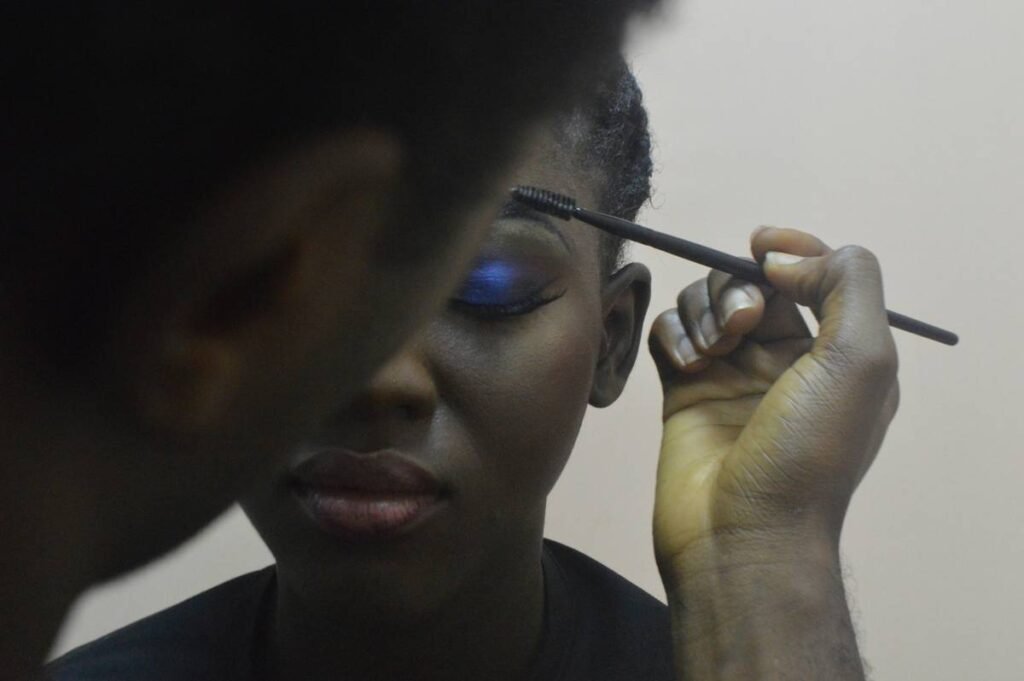
- Blend Edges: Stipple adhesive beyond the prosthetic edge. Press piece firmly, then use a soft brush + water to feather seams into skin.
- Color Matching: Mix cream pigments (not liquid!) to mimic surrounding skin. Layer: base tone → bruise tones (blue-purple) → dried blood (rust-brown).
- Blood Application: Dab thin layers with a stipple sponge. Real blood coagulates—it’s not glossy syrup.
5 Non-Negotiable Best Practices for Safe, Realistic Wounds
What separates amateur gore from Oscar-worthy trauma?
- Never skip patch testing. Latex allergy affects millions. Test adhesives AND pigments 24h prior.
- Depth > Drama. Carve shallow trenches into gelatin/silicone pieces before applying—flat wounds look painted-on.
- Use reference photos—medical ones. Sites like DermNet or Radiopaedia offer real trauma images (ethical disclaimer: never use graphic content without consent).
- Avoid “blood overload.” Fresh wounds weep; they don’t gush endlessly. Apply thin, tacky layers that dry matte.
- Remove gently. Soak edges with medical adhesive remover (like Ben Nye Final Seal Remover). Peel slowly while supporting skin.
Terrible Tip Alert: “Just use Elmer’s glue and food coloring!” Nope. Non-medical adhesives can cause chemical burns or trap bacteria. Your face ≠ papier-mâché project.
Rant Time: My Pet Peeve in Costume Makeup
Why do tutorials still push “DIY gelatin wounds” using Knox gelatin and glycerin? Yes, it’s cheap—but it melts at 95°F (body temp!), attracts flies, and offers zero UV stability. On a summer shoot, you’ll look like a dissolving candle. Invest in platinum-cure silicone or pre-sculpted medical-grade appliances from Kryolan or Premiere Products. Your art—and skin—deserve better.
Real Case Study: Horror Short That Went Viral (Thanks to Wound Work)
In 2022, indie filmmaker Lena Cho’s short “Suture” gained 2M+ views largely due to its hyper-realistic abdominal wound. Her secret? She collaborated with a trauma nurse to replicate a post-laparotomy incision.
Using a custom silicone appliance from 3D FX, she layered:
- Base: Pale pink with subtle venous blue undertones
- Stitches: Actual surgical thread knotted through the prosthetic
- Oozing: Mixture of methylcellulose, cocoa powder, and red iron oxide (dries tacky, not shiny)
The result? Viewers thought it was CGI—until behind-the-scenes footage showed the seamless blend. Cho credits her medical consultant: “Accuracy builds subconscious trust. If the wound feels real, the story does too.”
FAQs About Prosthetic Makeup for Wounds
Can I use prosthetic wounds if I have sensitive skin?
Yes—but choose hypoallergenic materials. Platinum silicone (like Platsil Gel-10) and gelatin-free foams are ideal. Always patch-test 24 hours beforehand.
How long do prosthetic wounds last on skin?
With proper adhesive: 8–12 hours for film/theater. For daily wear (e.g., cosplay), limit to 4–6 hours to prevent irritation. Never sleep in them.
Where can I buy safe, realistic wound prosthetics?
Reputable brands include Kryolan, Mehron, 3D FX, and Premiere Products. Avoid Amazon “no-name” kits—they often contain unregulated dyes.
Is it safe to make my own wound prosthetics at home?
Only if you use skin-safe formulas. DIY gelatin recipes are risky (bacterial growth, melting). Stick to FDA-compliant materials like Skin Tite silicone.
Conclusion
Making convincing prosthetic makeup for wounds isn’t about shock value—it’s about respecting the biology of injury and the integrity of your canvas: human skin. Whether you’re a budding SFX artist or a Halloween enthusiast, prioritize safety, study real trauma references, and never sacrifice authenticity for convenience.
Remember: The most haunting wounds aren’t the bloodiest—they’re the ones that whisper, “This could be real.” Now go create something respectfully gruesome.
Like a Tamagotchi, your prosthetic skills need daily care—feed them practice, not ketchup.
Blood dries brown,
Not cherry-red gloss.
Real wounds heal slow.