Most pros think theatrical makeup is just bold colors and thick foundation. They slap on foam latex, call it a day—and wonder why the audience sees seams under stage lights. The real problem? Amateur techniques masquerading as pro work. Here’s how seasoned artists build believable, durable prosthetics that survive sweat, spotlight heat, and 20-character ensemble changes.
Why Standard Techniques Fail Under Professional Conditions
Spirit gum might hold a moustache in community theater. But under HD broadcast lighting or during a two-hour musical with four quick changes? It peels. Fast. Foam latex dries brittle. Scarring from adhesives ruins delicate skin over long runs. And blending edges? Most tutorials ignore subsurface scattering—the way light penetrates real skin versus silicone.
Professional gigs demand materials that mimic biology, not just cover it.
The Step-by-Step Process for Flawless Prosthetic Application
Selecting the Right Material for Skin Realism
Forget one-size-fits-all foam. Use medical-grade silicone for facial appliances—it moves with expression and transmits light like epidermis. Gelatin works for short-run horror effects but melts by Act II. Pros match durometer (softness) to application zone: thinner silicone around eyes, denser near jawlines.
Adhesion That Won’t Betray You Mid-Scene
Ditch spirit gum. Use silicone-based adhesives like Telesis 5 or Pros-Aide thinned with Isopropyl Myristate. Apply in feathered layers—not globs. Cure time matters: 90 seconds under a cool fan beats 10 minutes of anxious waiting.
Seam Blending: Where Magic Happens
Scrape edges with a scalpel until translucent. Stipple adhesive into the transition zone with a sponge, then airbrush translucent powder over top. No brush strokes. Ever. Light hits texture first—smooth is invisible.
| Material | Best For | Adhesion Method | Durability (Hours) | Avg. Cost per Piece |
|---|---|---|---|---|
| Foam Latex | Background zombies, non-moving zones | Spirit Gum | 3–4 | $8–$15 |
| Medical Silicone | Lead roles, expressive areas (mouth/eyes) | Telesis 5 + Powder Set | 8–12+ | $35–$60 |
| Gelatin Appliances | One-night horror stunts | Methyl Cellulose | 1–2 | $3–$7 |
| Platinum Silicone (RTV) | Film, high-definition stages | Silicone Adhesive + Heat Set | 15+ | $70–$120 |
The Industry Secret Nobody Talks About: Skin Prep > Adhesive
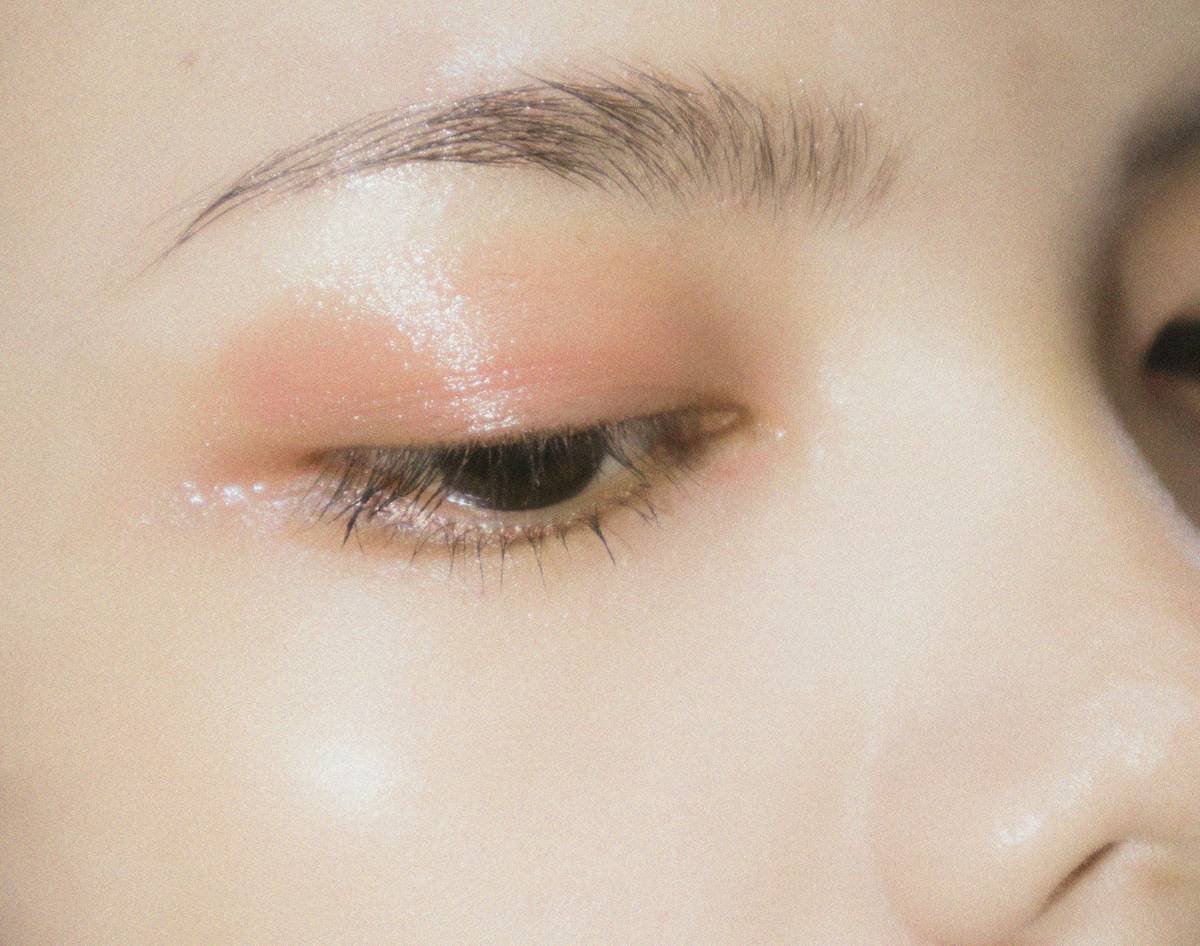
Here’s the reality: 80% of lifting happens before you even open the adhesive bottle. Cleanse with 99% isopropyl alcohol—no oils left behind. Then, lightly abrade the skin with a saline scrub. Not enough to redden—just enough to micro-exfoliate. Why? Adhesives grip keratin, not sebum. A slick forehead rejects bond; slightly textured skin invites it. And never skip the barrier spray on surrounding areas—Pros-Aide eats through unprotected skin after three removals. One veteran I worked with swears by pre-taping high-movement zones with surgical mesh. Sounds extreme. Works flawlessly.
Frequently Asked Questions
How long does professional theatrical makeup last on stage?
With silicone prosthetics and proper adhesive, 8–12 hours under hot lights. Foam latex rarely survives beyond intermission.
Can theatrical makeup cause skin damage?
Poor removal does. Never yank. Use adhesive removers like Ben Nye Bond Off—and always follow with ceramide-rich moisturizer. Repeated trauma causes hyperpigmentation.
What’s the difference between film and stage prosthetic makeup?
Film demands finer edges and subsurface color matching. Stage needs bolder pigment to read under distance—but both require seamless blending. Don’t cheap out on either.