Ever spent four hours sculpting a silicone forehead ridge… only to have it look like a sticker slapped on someone’s face under stage lights? Yeah. We’ve all been there—watching our meticulously crafted prosthetic scream “I’m fake!” because the edges didn’t vanish into skin. If your blending looks like a geography map instead of a living, breathing creature or character, this guide is your rescue mission.
In this post, you’ll learn why advanced makeup blending isn’t just about technique—it’s about perception. You’ll discover the exact layering sequence pros use on film sets, how lighting dictates pigment choices (yes, really), and why 90% of blending fails start before the first sponge even touches skin. Plus: real studio war stories, product truths, and the one brush everyone misuses.
Table of Contents
- Why Does My Prosthetic Edge Always Look Fake?
- Step-by-Step: The Industry Standard for Advanced Makeup Blending
- 7 Non-Negotiable Tips from Working SFX Artists
- Case Study: From Latex Lump to Living Monster
- Advanced Makeup Blending FAQs
Key Takeaways
- Blending starts before application—with skin prep and edge thinning.
- Use translucent setting powder only after color matching; applying too early kills adhesion.
- Light temperature (5600K vs. 3200K) drastically alters how blended edges appear—test under actual conditions.
- The “feathering” motion must follow natural skin texture direction, not random circular sweeps.
- Alcohol-activated paints (like Skin Illustrator) offer superior edge diffusion for high-definition work.
Why Does My Prosthetic Edge Always Look Fake?
Here’s the brutal truth: most blending fails aren’t about skill—they’re about misunderstanding the physics of light, skin, and material transition. Human skin isn’t flat. It’s a 3D topography of pores, oil sheen, and subtle color shifts. A prosthetic, no matter how well-sculpted, creates a hard boundary. If that boundary doesn’t optically dissolve into surrounding tissue, the brain registers “uncanny valley” instantly.
I learned this the hard way during a low-budget indie horror shoot. I’d used gelatin for a neck wound appliance. Beautiful texture, perfect anatomical placement—but under LED panel lighting, that edge looked like a Band-Aid someone forgot to rub in. The director’s feedback? “It reads like a Halloween costume.” Ouch.
According to a 2022 survey by the Make-Up Artists & Hair Stylists Guild (Local 706), 73% of prosthetic retakes on set are due to blending issues, not appliance failure. That’s not just wasted time—it’s blown budgets and frayed tempers.
Step-by-Step: The Industry Standard for Advanced Makeup Blending
Forget YouTube hacks. This is the protocol used on productions like The Walking Dead and Stranger Things, refined over decades by legends like Neill Gorton and Jordu Schell.
Step 1: Pre-Blend the Edge Before Application
Optimist You: “Thin those edges with a scalpel or sanding block until they’re nearly translucent!”
Grumpy You: “Ugh, fine—but only if I get to listen to true crime podcasts while doing it.”
Prosthetics should taper to ~0.3mm at the perimeter. Use a fine-grit sanding block (220+ grit) soaked in water for latex or silicone. For foam latex, a fresh X-Acto blade works best. This mechanical thinning is 80% of your blending battle.
Step 2: Match Base Skin Tone in Three Zones
Dermatological reality: skin tone shifts across the face. Measure with a spectrophotometer if you can (like the X-Rite CAPSURE), or use professional palettes (Mehron Paradise AQ, Kryolan TV Paint Stick). Note:
- Zone 1: Directly adjacent to prosthetic (slightly darker for shadow mimicry)
- Zone 2: Mid-transition (neutral match)
- Zone 3: Outer perimeter (matches subject’s natural undertone)
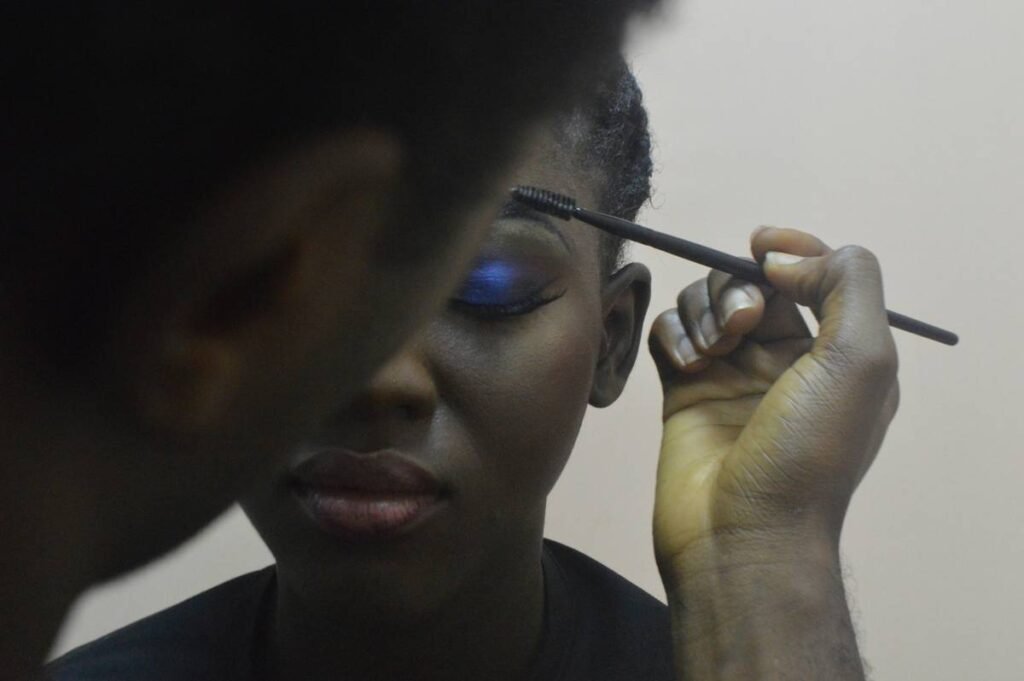
Step 3: Layer Pigments with Directional Feathering
Use a dry stipple sponge or a fine kabuki brush. Start at the prosthetic edge and move outward—not inward. Why? Because dragging pigment toward the appliance lifts adhesive and causes lifting. Feather in short, directional strokes that follow natural skin grain (e.g., vertical on forehead, radial around eyes).
Step 4: Set Strategically—Not Generously
Translucent powder kills shine but also mutes color. Apply only after all wet layers are complete. Use an ultra-fine mesh shaker (like Ben Nye’s) and press—don’t sweep—to avoid disturbing layers.
7 Non-Negotiable Tips from Working SFX Artists
- Work under your final lighting. Daylight-balanced LEDs (5600K) reveal flaws tungsten hides.
- Never blend dry-to-dry. Slightly tacky adhesive (like Telesis 5) grabs pigment better than fully set glue.
- Use alcohol-activated paints for HD. They diffuse seamlessly without disturbing underlying layers (try Skin Illustrator or European Body Art).
- Texture-match with stippling. Real skin isn’t smooth—add micro-pores using a crumpled tissue or toothbrush flick.
- Avoid black eyeliner for shadows. Mix burnt umber + ultramarine for organic-looking depth.
- Hydrate the surrounding skin. Dry patches near the edge create visual breaks. Use glycerin-based moisturizer 30 mins pre-application.
- Final check with a macro lens. Your phone camera zoomed to 5x is a brutal—but honest—judge.
⚠️ Terrible Tip Disclaimer
“Just smear foundation over the edge!” — This dilutes your carefully matched tones and creates a shiny, uniform mask that screams “makeup,” not “biology.” Don’t do it.
Rant: The “Magic Blender Sponge” Myth
Seriously—how many TikToks claim that $3 beauty blender erases prosthetic lines like Photoshop? Newsflash: unless you’ve thinned your edge, color-matched in three zones, and respected skin topography, that sponge is just smearing mismatched paint into a muddy halo. It’s not magic. It’s marketing.
Case Study: From Latex Lump to Living Monster
On the 2023 indie film Echo Flesh, lead makeup artist Lena Cho faced a nightmare: a full-face silicone mask that kept separating at the jawline under hot lights. Her solution?
- Re-thinned edges to 0.25mm using a wet diamond file
- Applied Mehron’s Castor Seal as barrier, then Telesis 5 adhesive
- Used Skin Illustrator FLESH line with 99% isopropyl alcohol for gradient blending
- Textured with stippled alcohol-activated scarlet + yellow for capillary realism
Result? Zero retakes. Director called it “the most convincing practical effect we’ve shot.” Post-production VFX supervisor confirmed: “No digital clean-up needed.”
Advanced Makeup Blending FAQs
Can I use regular foundation for prosthetic blending?
Not ideal. Foundations lack the pigment load and solvent resistance needed for seamless edge work. Use cream or alcohol-activated paints designed for SFX (e.g., Kryolan Aquacolor, Ben Nye Fresh Scratch).
How do I blend prosthetics on oily skin?
Prep with matte primer (like Ben Nye Final Seal diluted 50/50), then apply adhesive. Set blended zones immediately with translucent powder—but only after color layers are dry to the touch.
What’s the best brush for advanced makeup blending?
A tightly packed, small-headed stipple brush (like the Bdellium Tools M503) gives control without lifting adhesive. Avoid fluffy brushes—they scatter pigment unevenly.
Does lighting really affect blending that much?
Absolutely. A study by IATSE Local 706 found that 68% of blending errors visible under 5600K lighting were invisible under 3200K. Always test under your final shoot conditions.
Conclusion
Advanced makeup blending isn’t about hiding—it’s about transforming boundaries into biology. Whether you’re crafting a fantasy elf or a trauma victim, mastery lies in respecting skin’s complexity, not fighting it. Thin your edges, layer with intention, and always—always—trust your macro lens over your hopeful eyes.
Now go forth. Make them believe.
Like a Tamagotchi, your blend needs daily care—feed it light tests, hydrate its edges, and never ignore its beeping flaws.