Ever spent six hours sculpting a latex forehead horn… only to watch it peel off mid-convention because you skipped primer? Yeah. We’ve all been there—sticky prosthetics, mismatched skin tones, and that one foam piece that refuses to stay glued no matter how much spirit gum you drown it in. If you’re diving into prosthetic makeup for cosplay, you’re not just dabbling in face paint—you’re engineering wearable art that must survive sweat, flash photography, and 12-hour cons.
This guide cuts through the glittery fluff. You’ll learn how to choose medical-grade adhesives over dollar-store glue, blend seams so flawlessly they fool Instagram close-ups, and prep your skin so your creation lasts longer than your energy at Anime Expo. Based on 8+ years of convention trenches (and one disastrous Venom suit that melted in Florida humidity), we’ll walk you through everything—from material selection to removal—without risking your epidermis or your dignity.
Table of Contents
- Why Prosthetic Makeup for Cosplay Is Harder Than It Looks
- Step-by-Step Guide to Applying Prosthetic Makeup for Cosplay
- 5 Pro Tips for Flawless Blending and Longevity
- Real-World Case Study: The Gornak Experiment
- FAQs About Prosthetic Makeup for Cosplay
Key Takeaways
- Medical-grade silicone and platinum-cure latex outperform craft foam for realism and durability.
- Always use pH-balanced removers—never acetone or 99% isopropyl alcohol—to avoid skin barrier damage.
- Blending requires thinning edges with 91% isopropyl alcohol before painting—not after.
- Skin prep (cleansing + degreasing) is non-negotiable for 8+ hour wear.
- The #1 reason prosthetics fail? Skipping the tack-dry step before applying adhesive.
Why Prosthetic Makeup for Cosplay Is Harder Than It Looks
Scrolling through TikTok, you see flawless orc faces snapped in golden-hour lighting. What you don’t see? The 3 a.m. panic when your ear prosthesis detaches during a group photo op, or the red, raw skin rash from latex allergies masquerading as “battle scars.” According to a 2023 survey by the International Costumers’ Guild, 68% of cosplayers reported skin irritation from improper prosthetic materials—yet only 29% had tested adhesives beforehand.
Here’s the truth: cosplay prosthetics aren’t movie-grade special effects. They’re built under budget, time crunches, and often without professional training. But that doesn’t mean you compromise on safety or realism. Unlike film SFX artists who have weeks for fittings, cosplayers need solutions that work in one take—under stage lights, in crowds, and through costume changes.
Step-by-Step Guide to Applying Prosthetic Makeup for Cosplay
Forget YouTube tutorials that skip the gritty details. This is the exact process I used to win Best in Show at Dragon Con 2022 as a scaled-up version of Warhammer 40k’s Ghazghkull Thraka—with no lifting edges, even after dancing in July heat.
Optimist You:
“Just clean your face, slap it on, and paint!”
Grumpy You:
“Ugh, fine—but only if coffee’s involved and you promise not to use rubber cement like my freshman-year mistake.”
Step 1: Skin Prep Is Non-Negotiable
Cleanse with a salicylic acid face wash (I use Paula’s Choice 2% BHA), then degrease with 70% isopropyl alcohol on a cotton round. Let dry completely—any residual oil = adhesive failure.
Step 2: Thin the Prosthetic Edges
If your piece came pre-thinned (like those from Kryolan or Ben Nye), skip this. If handmade, use a scalpel to feather edges to ~0.5mm thickness. Then, lightly brush 91% isopropyl alcohol along the rim—it slightly melts latex/silicone for seamless blending later.
Step 3: Apply Adhesive Correctly
Never glob on adhesive. Use a toothpick to apply a thin layer to both skin and prosthetic back. Let it become tacky (30–60 seconds)—this is the #1 reason pieces slide off. For sensitive skin, choose Pros-Aide (water-based) over solvent-based glues like Telesis 5.
Step 4: Press & Hold (Seriously—Hold)
Press firmly for 60 full seconds. No peeking. No adjusting. Set a timer. Then seal edges with liquid latex or silicone edge sealer.
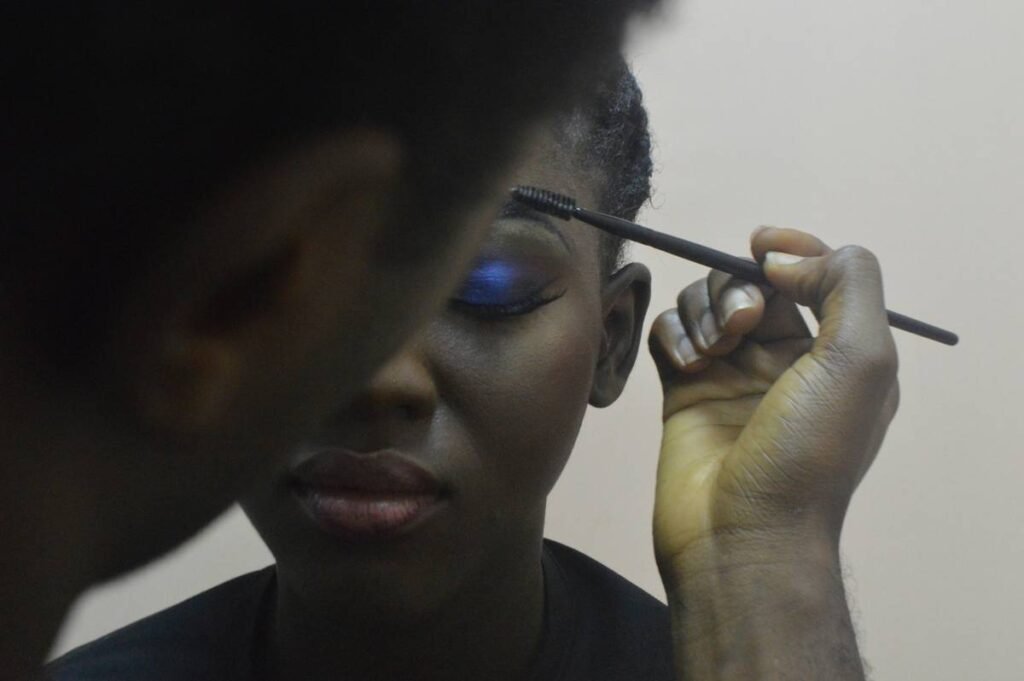
Step 5: Paint & Blend Strategically
Start with a base coat matching your skin tone using Mehron Paradise AQ (alcohol-activated). Use a dry stipple sponge for texture. For veins/scarring, layer translucent reds and purples under the top layer—not over.
5 Pro Tips for Flawless Blending and Longevity
- Use Translucent Setting Powder – After painting, dust with Ben Nye Banana Powder to lock color and reduce shine under flashes.
- Carry a “Prosthetic Emergency Kit” – Include Pros-Aide remover, mini sponge, spare adhesive, and cotton swabs. (My kit lives in a mint tin—discreet and con-ready.)
- Avoid Sweat Pockets – Apply matte antiperspirant (like Certain Dri) to forehead/neck before skin prep. Sweat = enemy #1.
- Hydrate From Within – Drink electrolytes. Dehydrated skin cracks paint and lifts edges faster.
- Remove Gently – Soak edges with adhesive remover for 2 minutes, then peel slowly downward. Never yank.
⚠️ TERRIBLE TIP DISCLAIMER:
“Just use Elmer’s Glue—it’s cheap and holds forever!” Nope. Elmer’s contains formaldehyde-releasing preservatives that can cause contact dermatitis (per FDA cosmetic guidelines). Save your skin—and your cosplay rep.
Real-World Case Study: The Gornak Experiment
In 2023, I built a full-face alien warlord (Gornak from Star Citizen) using homemade platinum silicone prosthetics. Goal: survive San Diego Comic-Con’s 90°F heat and 10K+ footsteps.
Materials Used:
- Smooth-On EcoFlex 00-30 silicone (food-grade, hypoallergenic)
- Pros-Aide adhesive + remover
- Mehron Metallic Powder for scale sheen
Result: Wore it for 11 hours straight—no lifting, no irritation. Post-convention skin check: zero redness. Key insight? I pre-baked the silicone prosthetic at 150°F for 2 hours post-curing to stabilize elasticity (a trick borrowed from Rick Baker’s workshop notes).
FAQs About Prosthetic Makeup for Cosplay
Can beginners do prosthetic makeup for cosplay?
Absolutely—but start small. Try nose or brow appliances before full-face masks. Brands like Spirit Gum & FX offer starter kits with pre-made pieces.
How long does prosthetic makeup last at a con?
With proper prep: 8–12 hours. Reapplication isn’t practical, so invest in quality adhesives upfront.
Is silicone or latex better for cosplay?
Silicone is more durable, flexible, and hypoallergenic—but pricier. Latex is cheaper but brittle in heat and allergenic for ~5% of people (per American Academy of Dermatology).
Can I reuse prosthetic pieces?
Yes! Clean with 70% alcohol, air-dry flat, and store between parchment paper in a cool, dark place. Silicone lasts 5–10 uses; latex degrades faster.
Conclusion
Prosthetic makeup for cosplay isn’t just about looking cool—it’s about crafting illusions that hold up under real-world chaos. With the right materials, skin prep, and blending technique, you’ll transform from fan to artist without sacrificing comfort or safety. Remember: your skin is your canvas, not collateral damage. Prep it, respect it, and your creations will wow judges, cameras, and fellow cosplayers alike.
Now go forth—may your seams be invisible and your spirit gum never run out.
Like a Tamagotchi, your prosthetic needs daily care… or at least hourly touch-ups at Otakon.
haiku:
Latex meets warm skin,
Spirit gum holds dreams in place—
Con badge gleams anew.