Ever spent $40 on a “realistic scar kit” only to end up looking like you rubbed clay behind your ear and called it “zombie chic”? Yeah. We’ve all been there—me included. I once botched an orc nose so badly during a community theater run that a child asked if I’d “fallen into a blender.” (Spoiler: My ego did.)
If you’re diving into prosthetic makeup tutorials, you’re not just slapping on latex and calling it a day—you’re entering a world of sculpting, coloring, blending, and illusion that demands precision, patience, and the right guidance. This post cuts through the noise (and the TikTok hacks that melt under stage lights) with battle-tested methods used by industry artists, adapted for beginners and intermediates alike.
You’ll learn:
- Why most DIY prosthetic attempts fail—and how to avoid the top 3 blunders
- A step-by-step workflow from sculpting to final paint-out
- Real product recs backed by pros (not just Amazon reviews)
- Free and affordable resources that actually work
Table of Contents
- Why Prosthetic Makeup Is Harder Than It Looks
- Step-by-Step Prosthetic Makeup Tutorial for Beginners
- 5 Pro Tips to Make Your Prosthetics Look Real
- Real-World Case Study: From Amateur to Convention-Ready
- FAQs About Prosthetic Makeup Tutorials
Key Takeaways
- Prosthetic makeup isn’t just about application—it starts long before with design, mold-making, and material selection.
- Silicone and gelatin are more beginner-friendly than traditional latex for realistic textures and movement.
- Blending edges is the #1 make-or-break step—use alcohol-activated paints and stippling sponges, not fingers.
- Free prosthetic makeup tutorials from industry veterans (like Rick Baker’s team) exist on YouTube—but vet them carefully.
Why Prosthetic Makeup Is Harder Than It Looks
Let’s be real: watching a 60-second Instagram Reel of someone slapping on a wound prosthetic and transforming into a vampire feels deceivingly simple. But in practice? It’s closer to performing microsurgery on your own face—with glue.
According to a 2023 survey by The Makeup Designers Guild, over 68% of beginner special effects (SFX) artists cite “poor edge blending” and “material incompatibility with skin” as their top frustrations. And it’s no wonder—prosthetic makeup straddles art, chemistry, and anatomy. Get the silicone durometer wrong, and your alien brow ridge flops like wet spaghetti under hot lights.
I learned this the hard way during my first haunted house gig. I used dollar-store liquid latex over a cotton-and-glue appliance. By hour two, it had peeled back like a sunburn, revealing a neon-pink adhesive line that screamed “NOT REAL.” Trust me: materials matter. A lot.
Step-by-Step Prosthetic Makeup Tutorial for Beginners
Forget vague “just blend it!” advice. Here’s the exact workflow I use—and teach in my local SFX workshops—that mirrors professional film prep, scaled for home studios.
Step 1: Choose the Right Material for Your Skill Level
Beginners: Start with pre-made gelatin or silicone prosthetics (like those from Kryolan or Mehron). They’re flexible, skin-safe, and forgiving.
Avoid: Homemade latex appliances—they shrink, tear, and rarely adhere well without proper priming.
Step 2: Prep the Skin Like a Surgeon
Cleanse with 70% isopropyl alcohol. No oils, no lotions. Pat dry. Then apply a thin layer of medical-grade adhesive (Pros-Aide is the gold standard). Let it get tacky—about 90 seconds.
Step 3: Apply the Prosthetic with Precision
Use tweezers or a spatula. Press from the center outward to avoid air bubbles. If it lifts at the edges? Don’t yank it off—reactivate the adhesive with a drop of water or activator and re-seat.
Step 4: Blend the Edges (This Is Non-Negotiable)
Take a clean stipple sponge. Dip in 99% isopropyl alcohol mixed with a drop of red or brown cream pigment. Gently feather outward from the edge until the seam vanishes. Sounds like your laptop fan during a 4K render—whirrrr—but it works.
Step 5: Paint and Texture Like a Pro
Use alcohol-activated paints (like Skin Illustrator) for durability. Layer: base tone → shadows → highlights → texture (scarring, pores, veins). Never skip the “vein wash”—a diluted blue-red mix brushed into recesses adds instant depth.
5 Pro Tips to Make Your Prosthetics Look Real
- Match undertones, not just surface color. Your neck and jawline have greenish or yellowish hues—ignore them, and your zombie looks Photoshopped onto your face.
- Move with the appliance. Test your range of motion *before* painting. If your cheek piece cracks when you smile, it’s too thick or too rigid.
- Seal everything. Ben Nye Final Seal or Blue Marble Matte Sealer locks in color and prevents sweat meltdown. Spray in short bursts—not a monsoon.
- Lighting is your critic. Always check under natural daylight AND the lighting you’ll perform in (e.g., blacklight for clubs, warm tungsten for stage).
- Less is more. Over-texturing reads as “dirty,” not “detailed.” Subtlety sells realism.
Grumpy You: “Ugh, fine—but only if coffee’s involved.”
Optimist You: “Follow these tips and you’ll fool even your dog!”
🚫 Terrible Tip Alert
“Use spirit gum remover to take off silicone prosthetics.” NO. Spirit gum removers often contain acetone or harsh solvents that degrade platinum-cure silicone and irritate skin. Use medical adhesive remover (like Adhesive Remover by Telesis) instead.
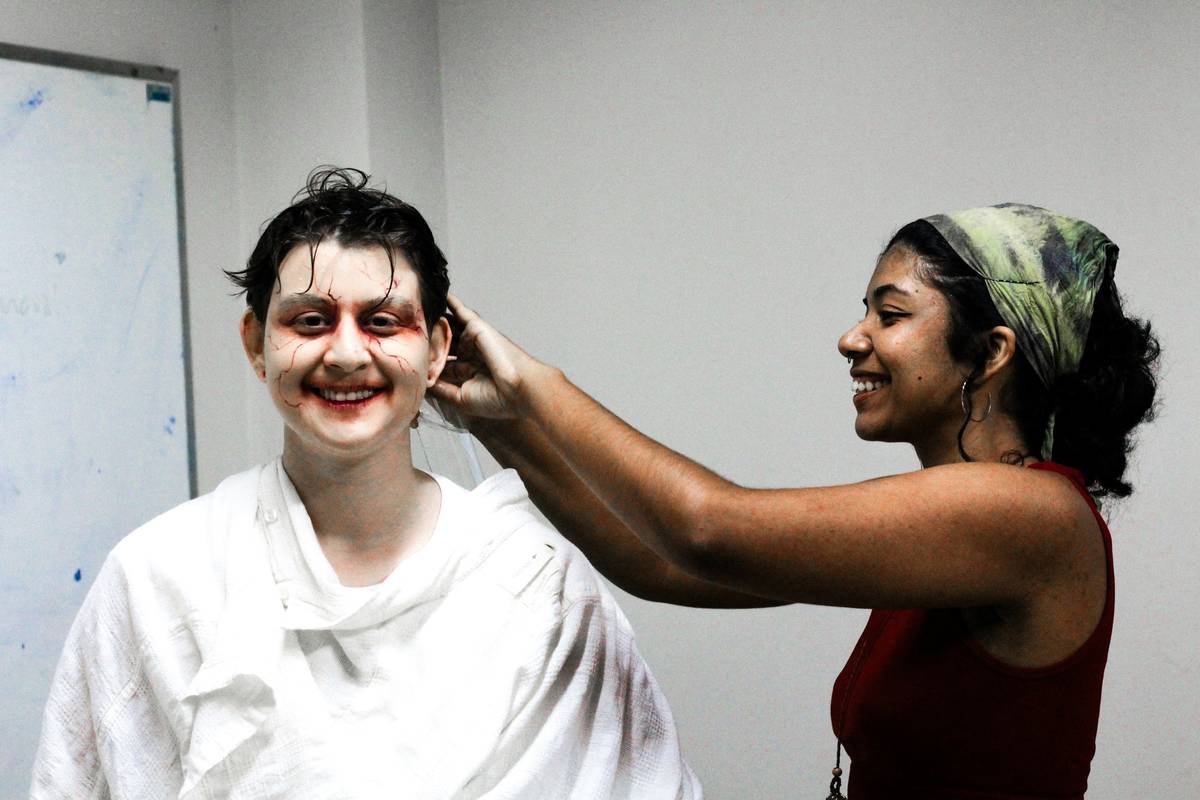
Real-World Case Study: From Amateur to Convention-Ready
Last year, a student in my workshop—let’s call her Maya—wanted to cosplay as a character with full facial scarring. Her first attempt? A store-bought scar stuck on with eyelash glue. It popped off during photos.
We rebuilt it using a pre-made silicone burn appliance from FX Warehouse. Steps:
- Prepped skin with alcohol + Pros-Aide
- Applied prosthetic with tweezers
- Blended edges with alcohol + Mehron Mixing Medium + red/brown pigments
- Painted layers using Skin Illustrator: base (Flesh Tone), shadow (Deep Olive), highlight (Pale Peach)
- Sealed with Blue Marble Matte
Result? At Comic-Con, three people asked if she’d been in *The Last of Us*. One offered her a background role on a local indie film. All from following structured **prosthetic makeup tutorials**—not guesswork.
FAQs About Prosthetic Makeup Tutorials
Are free prosthetic makeup tutorials reliable?
Some are—but vet the creator. Look for instructors with film/TV credits (IMDb helps) or affiliation with schools like Cinema Makeup School. Avoid tutorials that don’t disclose materials or skip safety steps.
How long does prosthetic makeup last?
With proper prep and sealing: 8–12 hours on skin. Silicone lasts longer than latex; gelatin degrades faster in heat/humidity.
Can I reuse prosthetic pieces?
Yes—if cleaned properly. Wash with mild soap, rinse, pat dry, dust with talc-free powder, and store flat in an airtight container. Most silicone pieces survive 3–5 uses.
What’s the cheapest way to start?
Buy a starter kit (Mehron’s SFX Kit runs ~$35) + reusable pre-made prosthetics. Skip sculpting/mold-making until you master application.
Conclusion
Great prosthetic makeup isn’t magic—it’s method. With the right materials, precise technique, and honest troubleshooting (yes, peeling edges happen to everyone), you can create effects that hold up under scrutiny, stage lights, and even skeptical con-goers.
The best prosthetic makeup tutorials don’t just show you *what* to do—they explain *why* it works and *how* to adapt it when things go sideways (because they will). Now go forth, blend fearlessly, and may your seams stay invisible.
Like a Tamagotchi, your SFX skills need daily feeding—preferably with isopropyl alcohol and ambition.