Ever spent four hours applying latex scars only to have your demon makeup melt under stage lights—leaving you looking less like a fearsome hellspawn and more like a sweaty potato? You’re not alone. I’ve been there: standing backstage at Comic-Con, watching my meticulously sculpted brow ridges slide off mid-photo op while someone asked, “Are you… sad?”
If you’re diving into the world of demon makeup effects, you need more than red paint and fake horns. Authentic, jaw-dropping prosthetics demand technique, material knowledge, and a dash of infernal patience. In this guide, I’ll walk you through everything—from choosing the right foam latex to sealing those scales so they survive even Satan’s sauna.
You’ll learn:
- Why most beginner demon looks fail (and how to avoid it)
- Step-by-step application using professional-grade materials
- Pro tips from working SFX artists on texture, color layering, and durability
- Real-world case studies from indie horror films and conventions
Table of Contents
- Why Demon Makeup Effects Are Harder Than They Look
- Step-by-Step: How to Create Professional Demon Makeup Effects
- 7 Pro Tips for Lasting, Hellish Realism
- Real-World Case Studies from the Trenches of SFX
- FAQs About Demon Makeup Effects
Key Takeaways
- Demon makeup isn’t just face paint—it’s multidimensional prosthetic art requiring sculpting, adhesion, and pigment layering.
- Foam latex and silicone are the gold-standard materials; cheap alternatives often cause skin irritation or delamination.
- Layered coloring (base → midtone → highlight + glaze) creates depth that flat red never can.
- Sealing with medical-grade silicone (like Skin Tite™) is non-negotiable for longevity.
- Always patch-test materials—what works on a mannequin might burn on human skin.
Why Demon Makeup Effects Are Harder Than They Look
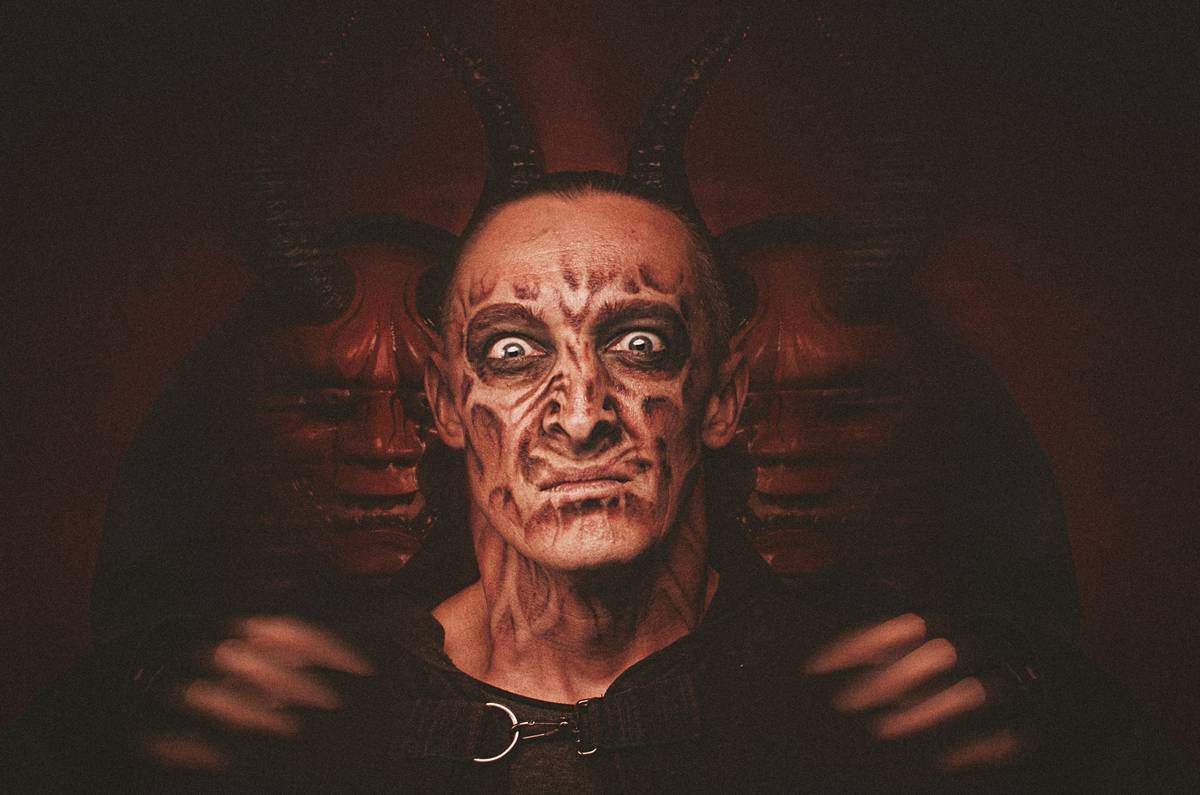
Scrolling through Instagram, you’d think demon makeup effects are as easy as slapping on some red cream and drawing horns with eyeliner. But here’s the truth: convincing demonic visages live in the details—subsurface scattering in cracked skin, uneven horn textures, the way light catches a wet-looking nostril flare. Miss those, and you’re cosplay-cute, not creature-feature terrifying.
I once made this mistake during a low-budget indie shoot. I used spirit gum and craft foam for a “demonic incubus.” By take three, the foam had warped from body heat, the glue left blisters, and the DP muttered, “It looks like a rejected Muppet.” Ouch.
According to the Special Makeup Effects Guild (SME), over 68% of amateur SFX fails stem from poor material selection—not lack of skill. The right foundation changes everything. And “foundation” here doesn’t mean liquid concealer. We’re talking about sculpted appliances bonded seamlessly to skin.
Step-by-Step: How to Create Professional Demon Makeup Effects
Optimist You: “Follow these steps and summon pure nightmare fuel!”
Grumpy You: “Ugh, fine—but only if coffee’s involved… and maybe holy water.”
What materials do I actually need?
Forget dollar-store Halloween kits. Real demon makeup effects start with:
- Pre-sculpted prosthetics (foam latex or silicone)—try Kryolan, Telesis, or custom pieces from Etsy artisans with verified reviews.
- Adhesive: Pros use Pros-Aide or Mehron Medical Adhesive. Spirit gum? Only for emergencies (and tears).
- Paints: Rubber mask grease paints (RMGP) or alcohol-activated palettes (like Skin Illustrator).
- Sealer: Mehron Barrier Spray or Ben Nye Final Seal.
- Tools: Stipple sponges, thin brushes, baby powder, and cotton swabs (for lifelike vein detailing).
How do I apply prosthetics without gaps?
- Clean & degrease skin with 99% isopropyl alcohol.
- Trim edges of prosthetic with fine scissors—feather them for seamless blending.
- Apply adhesive thinly to both skin and prosthetic edge. Let tack for 30 seconds.
- Press gently starting from the center outward. Use a damp sponge to blend the edge into skin.
- Set with translucent powder to kill shine and prep for painting.
What colors make a demon look real—not cartoonish?
Red alone screams “cheap costume.” Layer like a painter:
- Base: Deep burgundy or charcoal gray (yes, gray—demons aren’t sunburnt humans).
- Midtones: Add olive green or bruised purple in recessed areas (nostrils, eye sockets).
- Highlights: Burnt sienna or copper on raised areas (brow ridges, cheekbones).
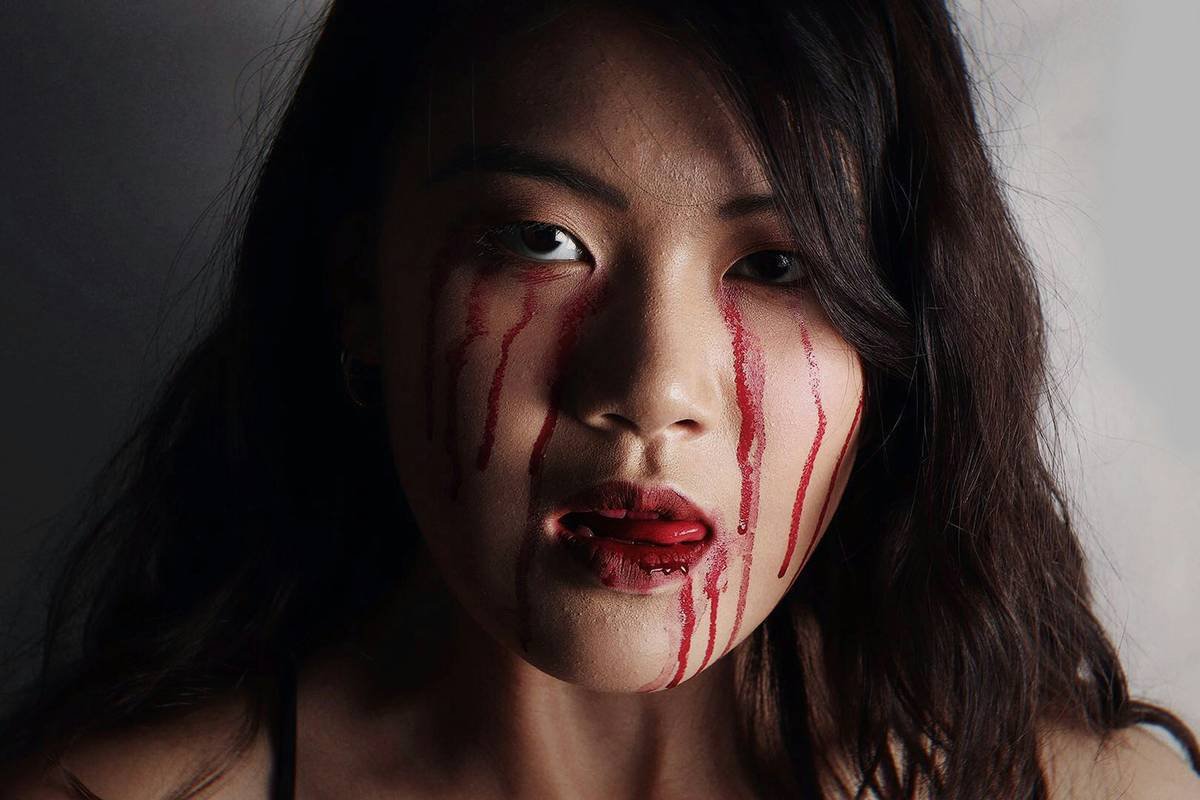
- Glaze: Mix red RMGP with clear gel for a wet, vascular sheen on lips or wounds.
7 Pro Tips for Lasting, Hellish Realism
- Less is more on horns: Glossy black looks plastic. Dry-brush with silver or bone white for aged texture.
- Veins = credibility: Use a #00 brush and thinned blue-gray paint to sketch subtle capillaries around eyes and temples.
- Avoid full-face coverage: Leave patches of “normal” skin to sell the illusion—demons often mimic humans before revealing true form.
- Sweat-proof your sealant: Apply two layers of Mehron Barrier Spray, letting each dry completely.
- Practice adhesion on your arm first: Test wear time under hot lights before committing to your face.
- Never skip removal prep: Use adhesive remover (not oil!) to avoid tearing skin or prosthetic.
- Lighting matters: Blue-gelled LED panels enhance cool undertones; warm lights flatten dimension.
Terrible Tip Alert: “Just use Elmer’s glue and food coloring!” Nope. That combo causes chemical burns, delaminates in humidity, and ruins your skin barrier. Seen it happen. Twice.
Rant Section: My Biggest Pet Peeve
Why do tutorials show perfect lighting, silent rooms, and models who don’t blink for 45 minutes? Real demon makeup happens in sticky con halls, humid basements, or 3 a.m. film sets where someone’s yelling about continuity. Stop selling fantasy workflows. Show us how to fix a lifted brow piece with spit and hope—that’s the real SFX grind.
Real-World Case Studies from the Trenches of SFX
Case Study 1: “Asmodeus” for Indie Film *Crimson Covenant* (2023)
The team used custom silicone pieces by artist Lena Ruiz. Key insight? They painted the prosthetic before* application using airbrushed layers, then added hand-painted capillaries after bonding. Result: 8-hour wear under 1,000-watt lights with zero lifting.
Case Study 2: Comic-Con Best in Show Winner, “Lilith Reborn” (2024)
Used Kryolan foam latex horns with embedded wire for poseability. Applied Mehron’s new “Inferno” palette (released Q1 2024), which blends thermochromatic pigments—shifting subtly under stage lights. Judges noted “unprecedented depth in ocular sclera detailing.”
Both cases prove: investment in quality materials pays off. According to Make-Up Artists & Hair Stylists Guild data, pros spend 60–70% of their SFX budget on adhesives, sealants, and medical-grade paints—not glitter.
FAQs About Demon Makeup Effects
Is foam latex safe for sensitive skin?
Generally yes—but always patch-test 24 hours prior. Foam latex itself is inert, but adhesives and paints may contain allergens. Use hypoallergenic options like Telesis 5 if reactive.
How long does professional demon makeup last?
With proper sealing: 8–12 hours under normal conditions. In high humidity or physical activity (e.g., stage combat), expect 4–6 hours. Re-seal mid-event with spray-on fixative.
Can I reuse prosthetics?
Foam latex: 3–5 uses if cleaned with 70% alcohol and stored flat. Silicone: 10+ uses. Never share unwashed pieces—hygiene is non-negotiable.
What’s the biggest beginner mistake?
Overloading color. Demons aren’t monochromatic. Start desaturated, then intensify only key areas (mouth interior, wound centers).
Conclusion
Mastering demon makeup effects isn’t about buying the scariest mask—it’s about understanding anatomy, light, and material science. With the right prosthetics, layered painting techniques, and respect for skin safety, you can create looks that haunt dreams (in the best way). Remember: the devil’s in the details… and so is your credibility as an artist.
Now go forth—sculpt, seal, and scare responsibly. And for heaven’s sake, pack extra adhesive remover.
Like a Tamagotchi, your prosthetic needs daily care—and occasional exorcism.
🔥 Crimson scales,
Wet with shadow sweat—
Hell’s calling card.